
24 Layered Medium Hairstyles and Where the Layers Should Start
Layers are not a haircut. They are a technique, and the same technique produces wildly different results depending on three decisions your stylist makes. Where the shortest layer sits, how much weight comes out, and what shape the layers form through the back. Most people who dislike their layers were given the wrong answer to one of those questions rather than the wrong style. Shoulder length is where the choices matter most, since there is enough hair for real structure but not enough to hide a mistake. Here is what each option actually does.
Jump to:
- Long Layers
- Short Layers
- Face-Framing Layers at the Cheekbone
- Face-Framing Layers at the Chin
- Side Layers Only
- V-Cut Layers
- U-Cut Layers
- C-Shape Layers
- Internal Layers
- Crown Layers
- Choppy Layers
- Feathered Layers
- Wispy Blended Layers
- Tiered Layers
- Shag Layers
- Rachel Layers
- Layers Blended Into Curtain Bangs
- Layers Over a Blunt Perimeter
- Weight Removal for Thick Hair
- Minimal Layers for Fine Hair
- Dry-Cut Layers for Curls
- Layers Cut for Waves
- Softened Ends Only
- Grown-Out Layers Reshaped
Long Layers
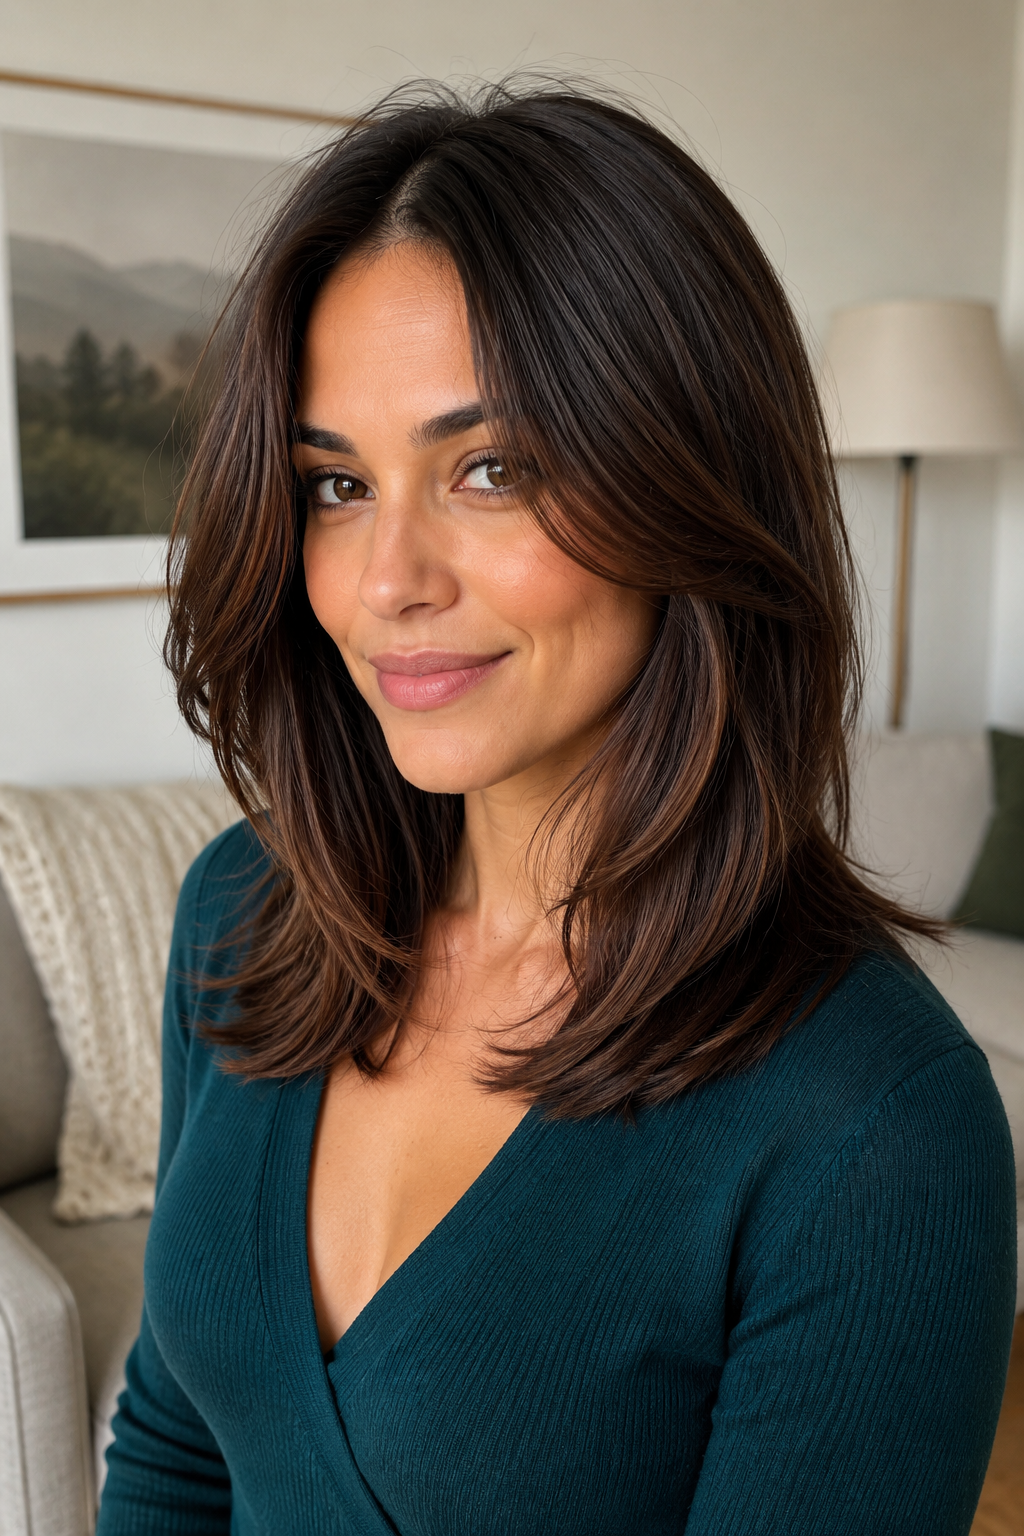
The shortest layer sits well below the chin, with everything above it left untouched.
Very little weight comes out, so the change is subtle. You get movement through the bottom half without altering the shape.
Great for anyone testing whether layers suit them at all. This is the lowest-risk version available, and it grows out without ever passing through a stage where you have to explain it.
Short Layers
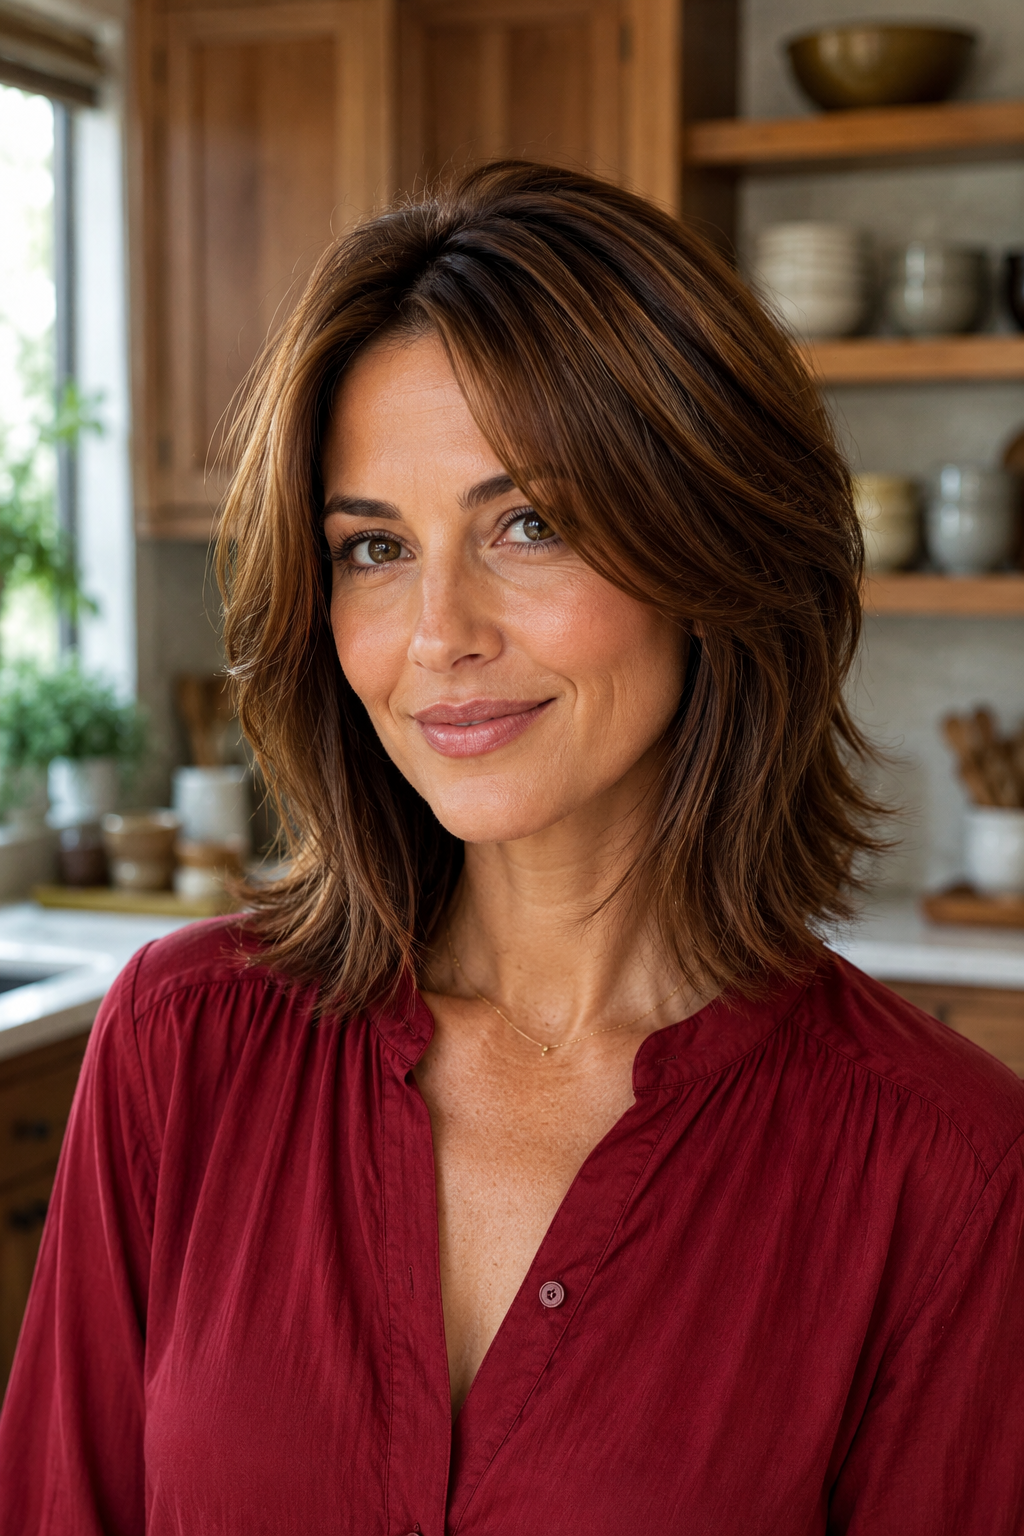
The shortest pieces start at or near the crown, creating a stack of lengths down the head.
Because the top layer is short, it sits on top of the rest rather than blending in, which is what builds height.
Perfect for hair that goes flat on top. It does need styling to look right, so it is not the pick if you want a cut you can wash and leave.
Face-Framing Layers at the Cheekbone
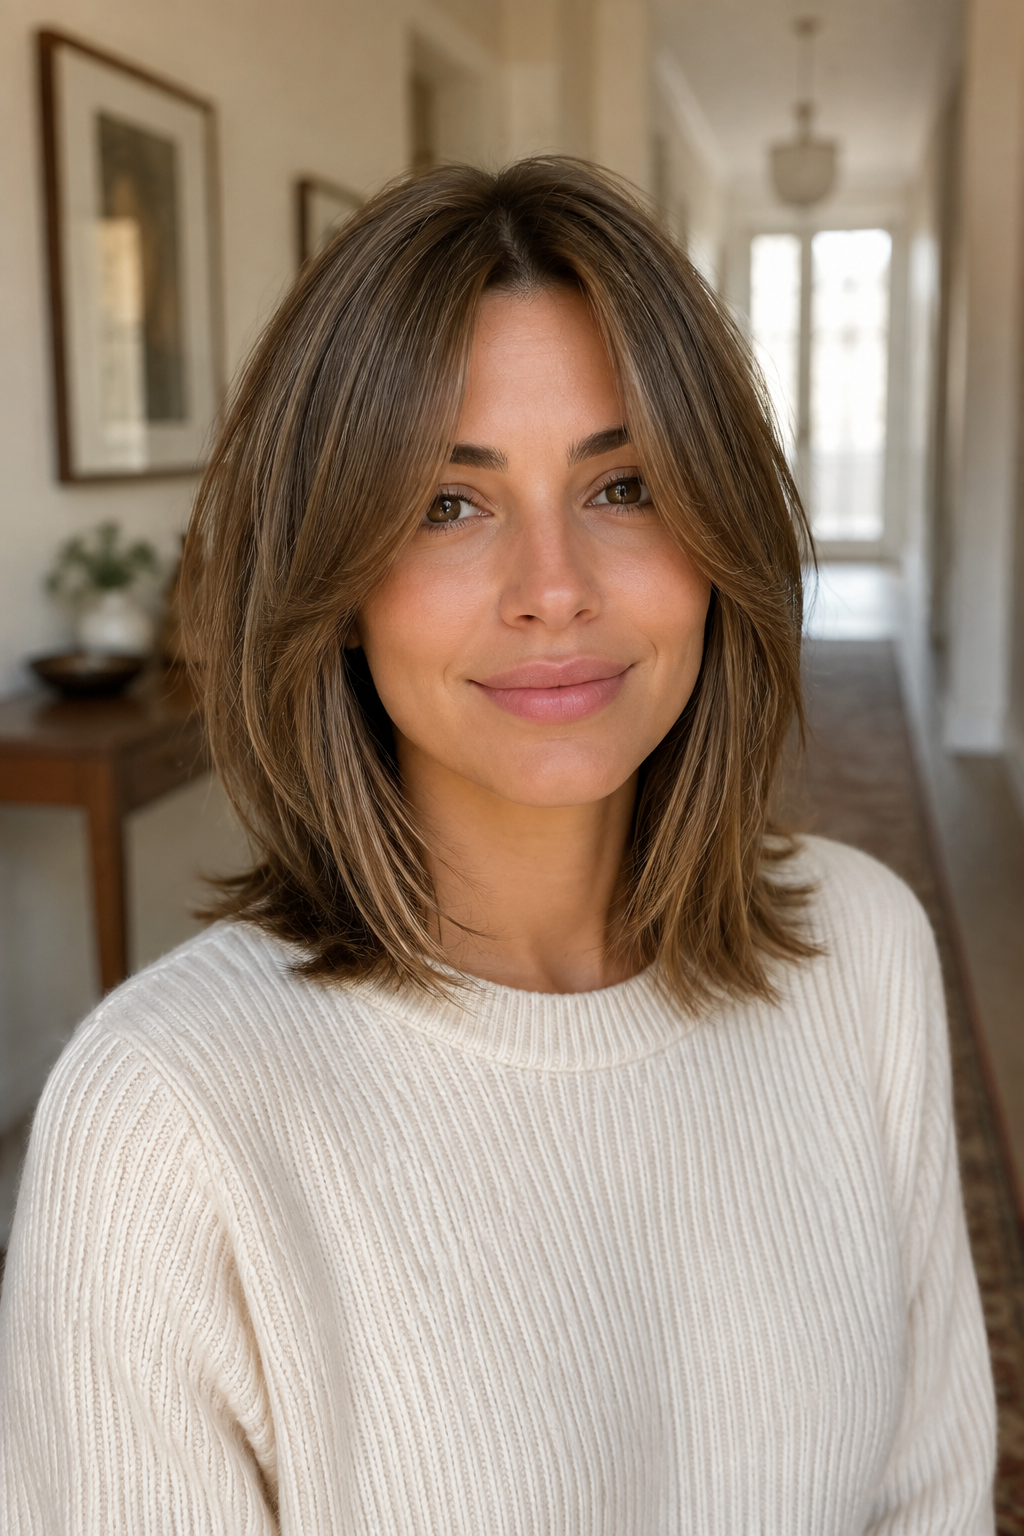
Shorter pieces cut only around the face, with the shortest landing around cheekbone height.
Starting high lifts the whole shape upward and draws attention toward your eyes.
Suits most faces, particularly rounder ones. Our medium hairstyles for round faces post covers where the front pieces should sit to get that lift.
Face-Framing Layers at the Chin
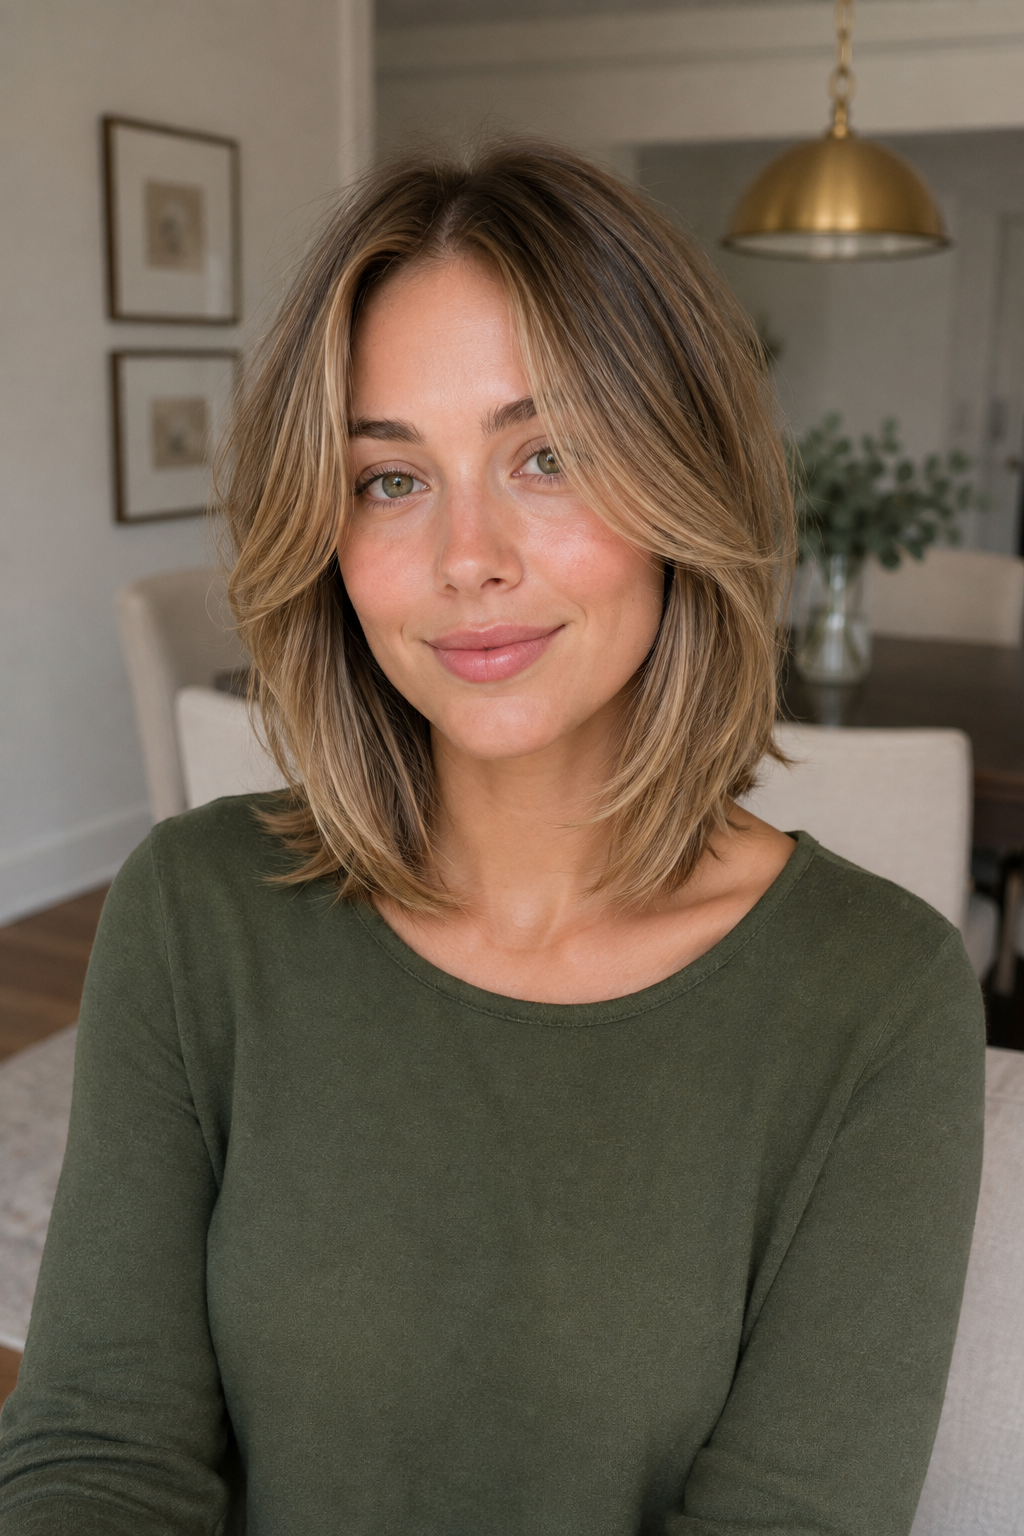
The same idea with the shortest piece dropped to chin level instead.
Lower placement is softer and less dramatic, and it frames the jaw rather than the eyes.
Works especially well if cheekbone-height pieces have felt too short on you before. It is also the safer choice on fine hair, since there is less risk of the front looking thin.
Side Layers Only
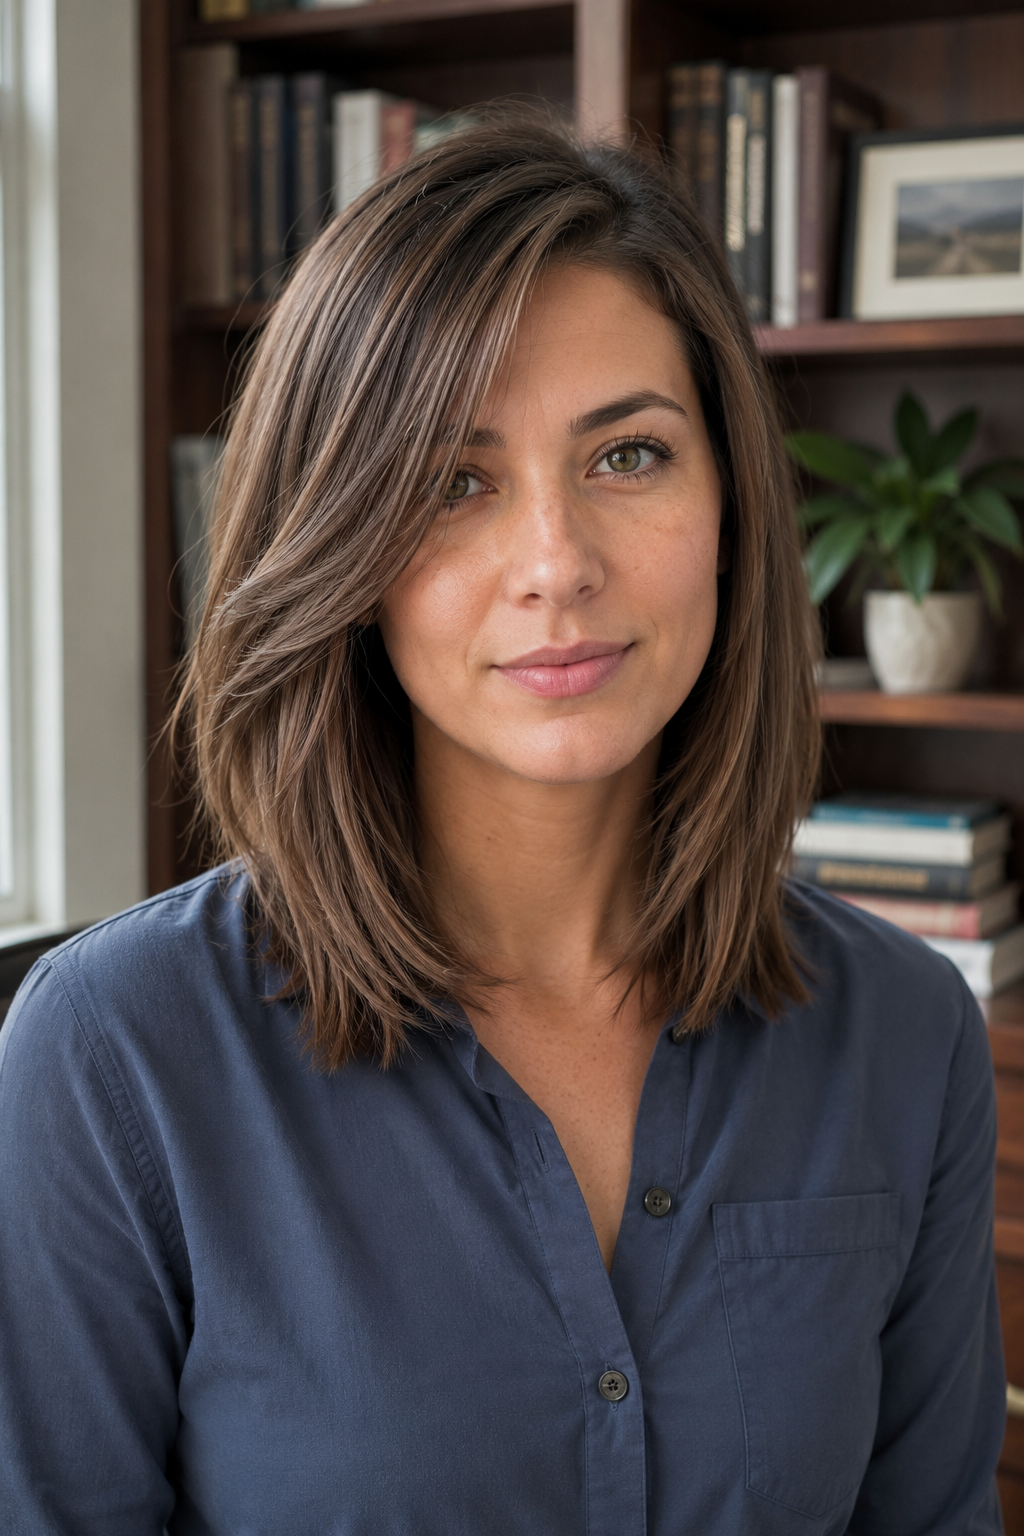
Layers cut into the sides while the back stays at one length.
Layers do not have to go all over the head. Restricting them to the sides gives you shape at the front and keeps full density behind.
Great for anyone with a long neck or an oval face. It also means the back keeps its weight, which matters if your ends have been looking sparse.
V-Cut Layers
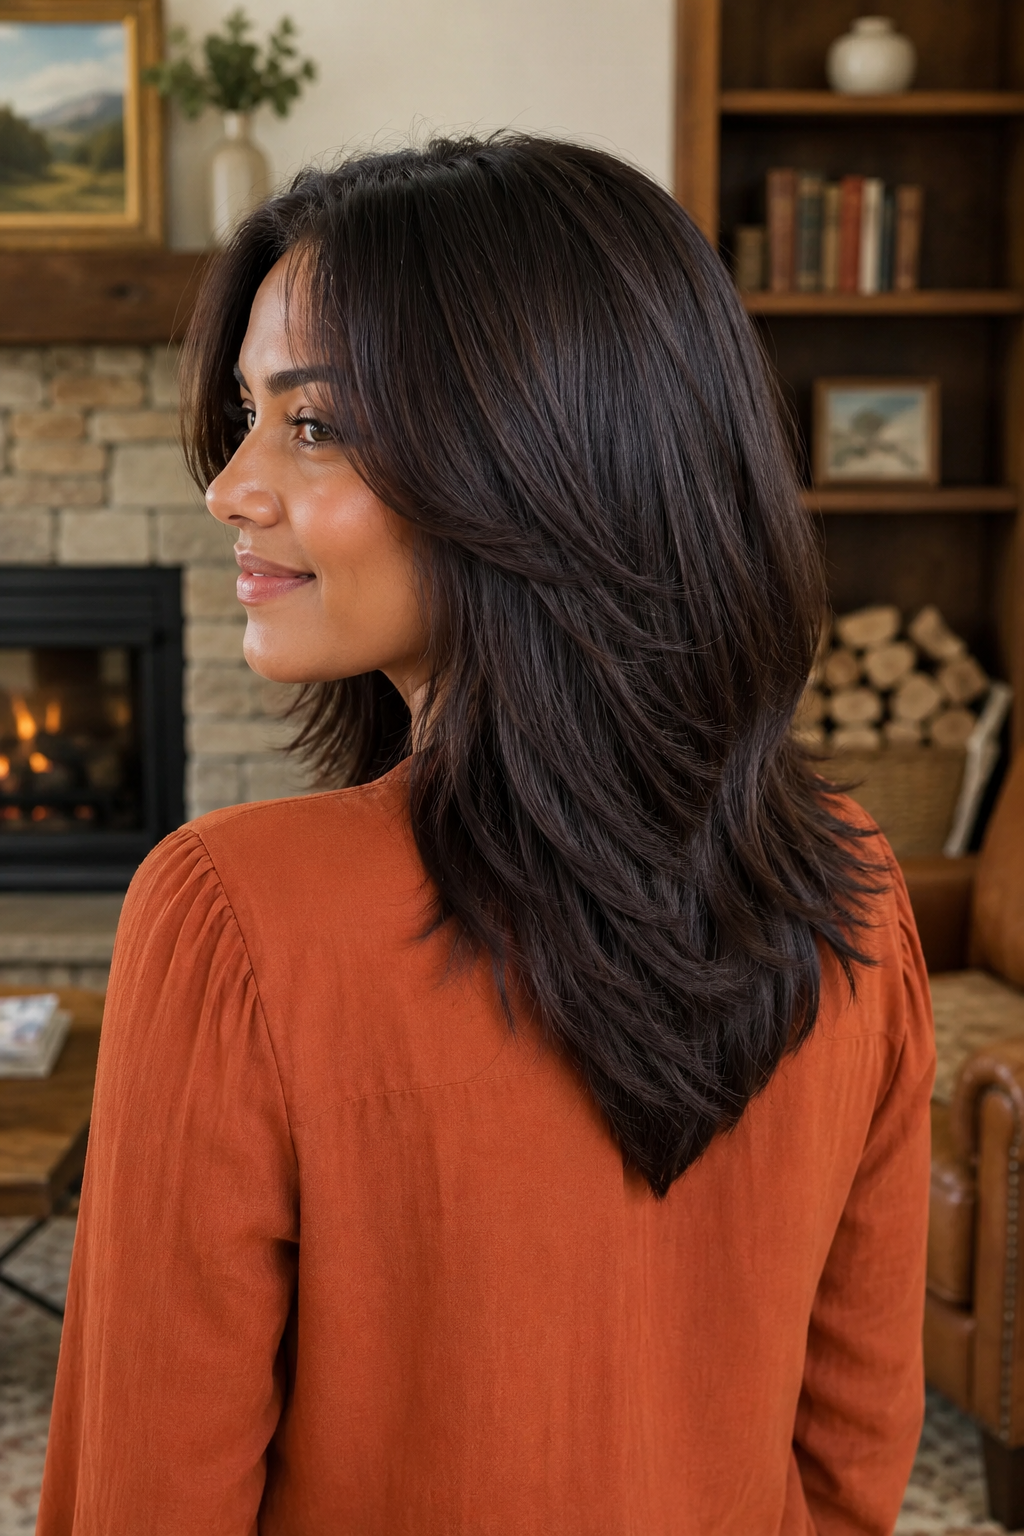
The back cut so the centre hangs longer than the sides, forming a point.
The V creates a sense of length through the back that a straight line flattens, and it gives layered hair somewhere to go.
Perfect if you are growing your hair out. The shape holds as the length increases rather than turning shapeless, which is not true of most layered cuts.
U-Cut Layers
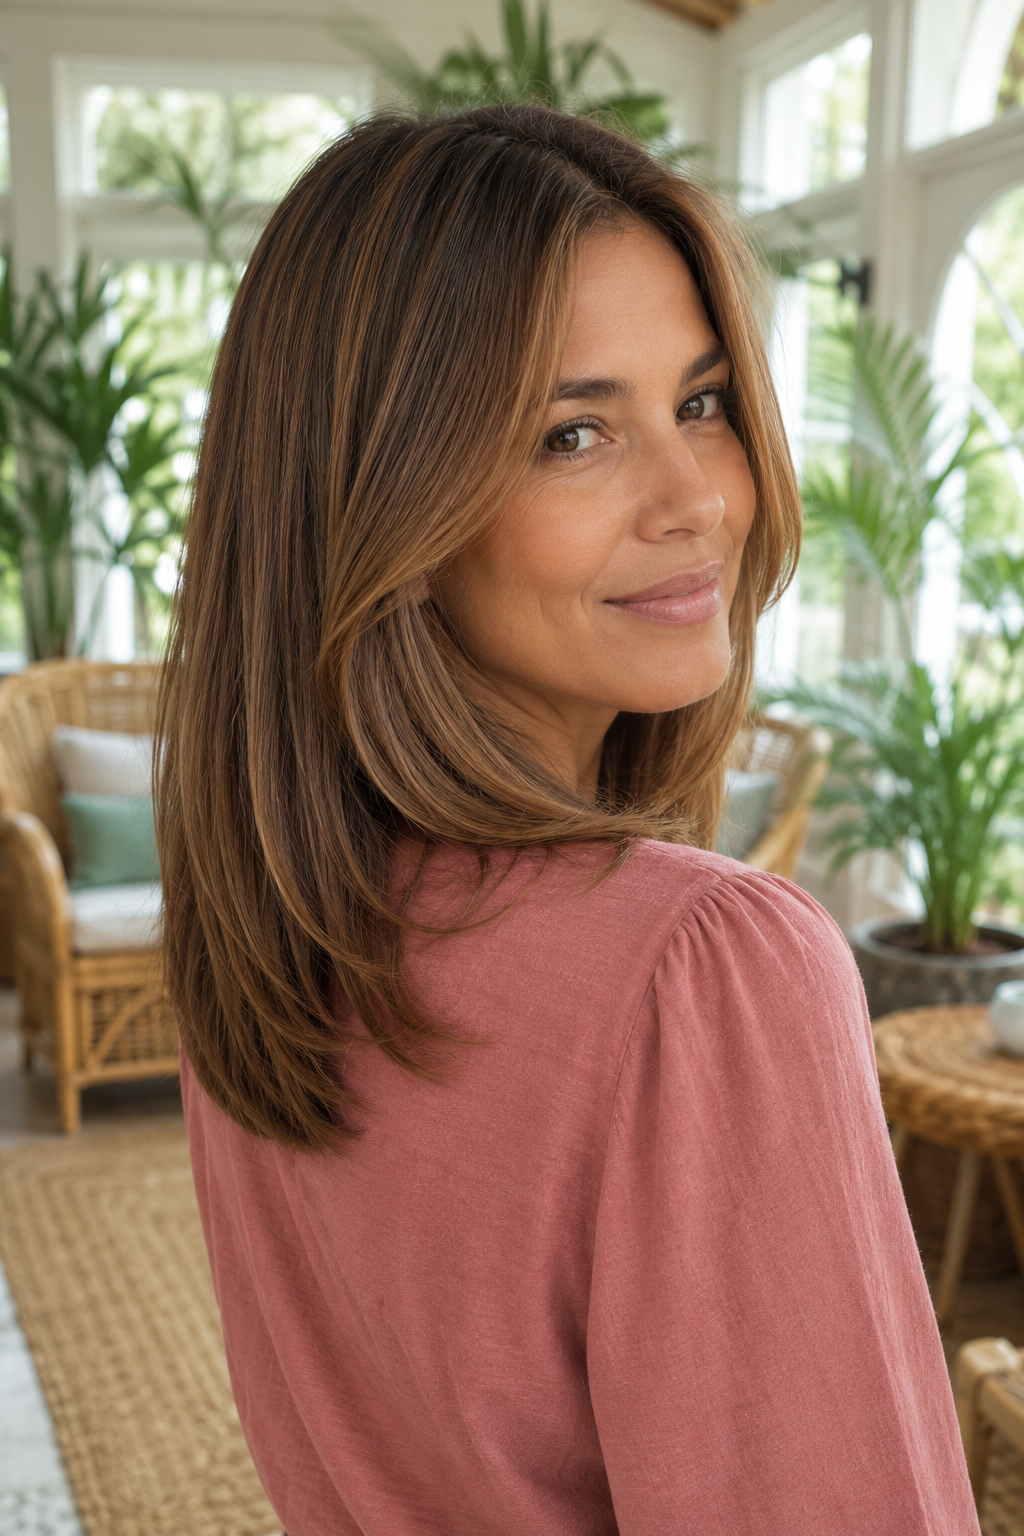
The same principle with a gentler curve, the back rounding rather than coming to a point.
Because the curve is gradual, it suits hair that is already fairly full and keeps the outline soft.
Suits anyone who finds a V too sharp. It also grows out more forgivingly, since there is no single point to lose definition.
C-Shape Layers
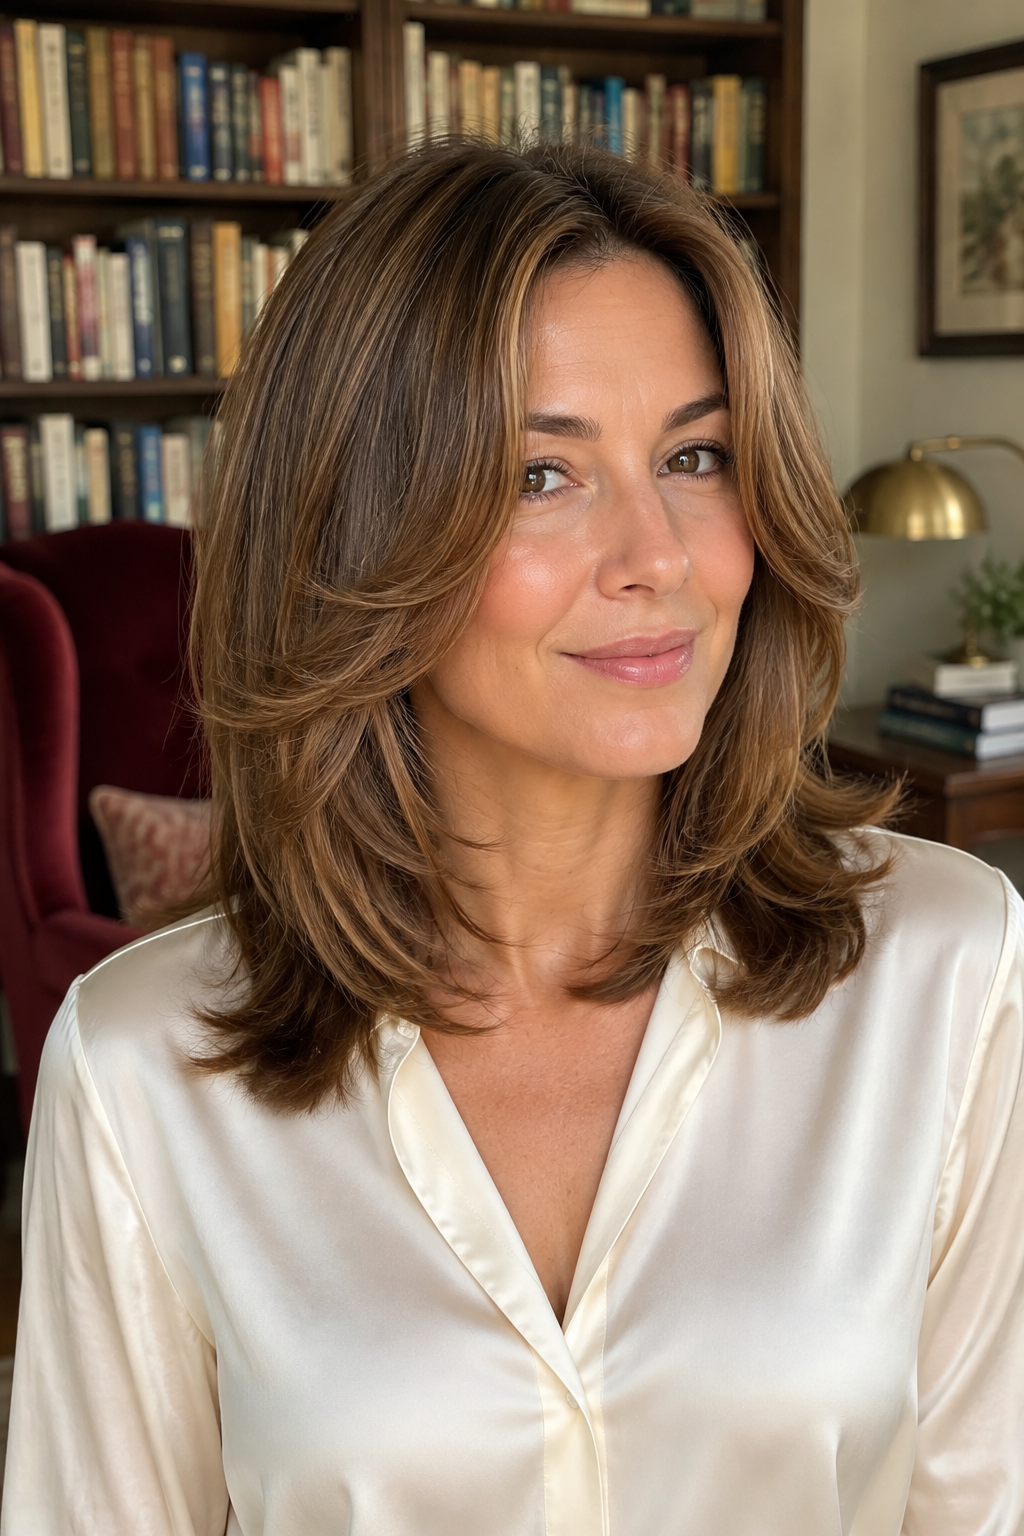
Layers cut in a curve that follows the face, shortest at the top of the curve and lengthening as they travel down.
The curved shape hugs the face rather than sitting flat against it, which creates soft volume where it flatters.
Works especially well on straight and lightly wavy hair. Ask for the curve to begin around the temple and finish below the jaw.
Internal Layers
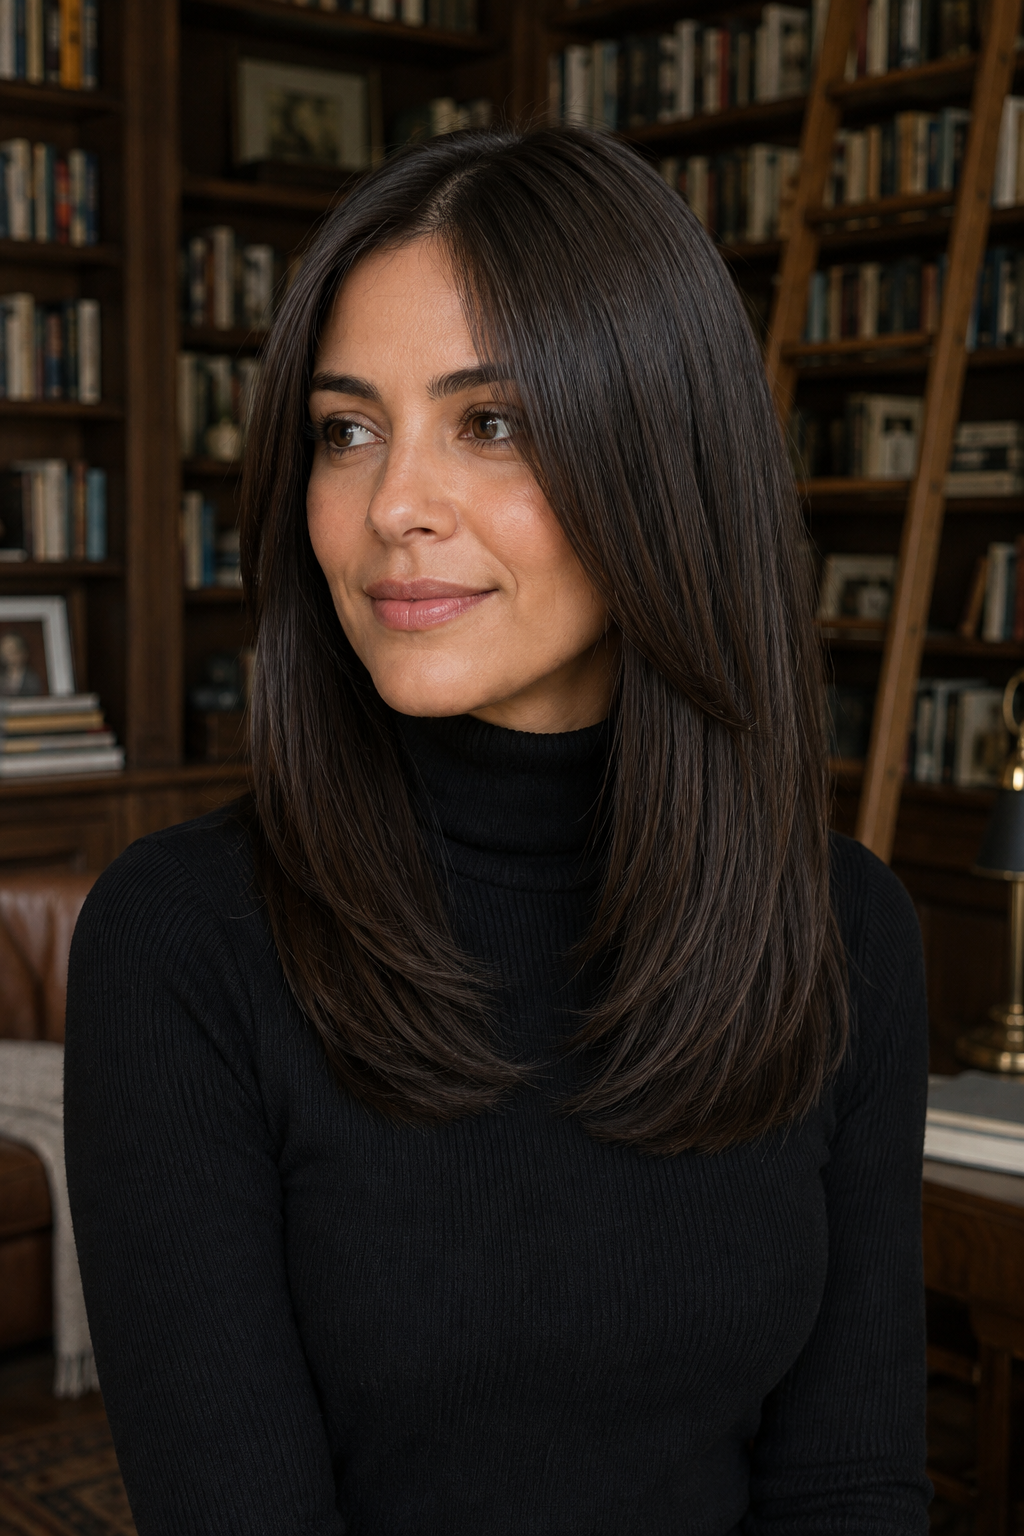
Layers cut inside the hair, underneath the top section, so nothing shows on the surface.
The outline stays completely clean while weight comes out from within. It is the technique behind most cuts that look one-length but still move.
Great for thick hair that hangs heavy. Our straight medium hairstyles post covers more on keeping a sharp perimeter with movement underneath.
Crown Layers
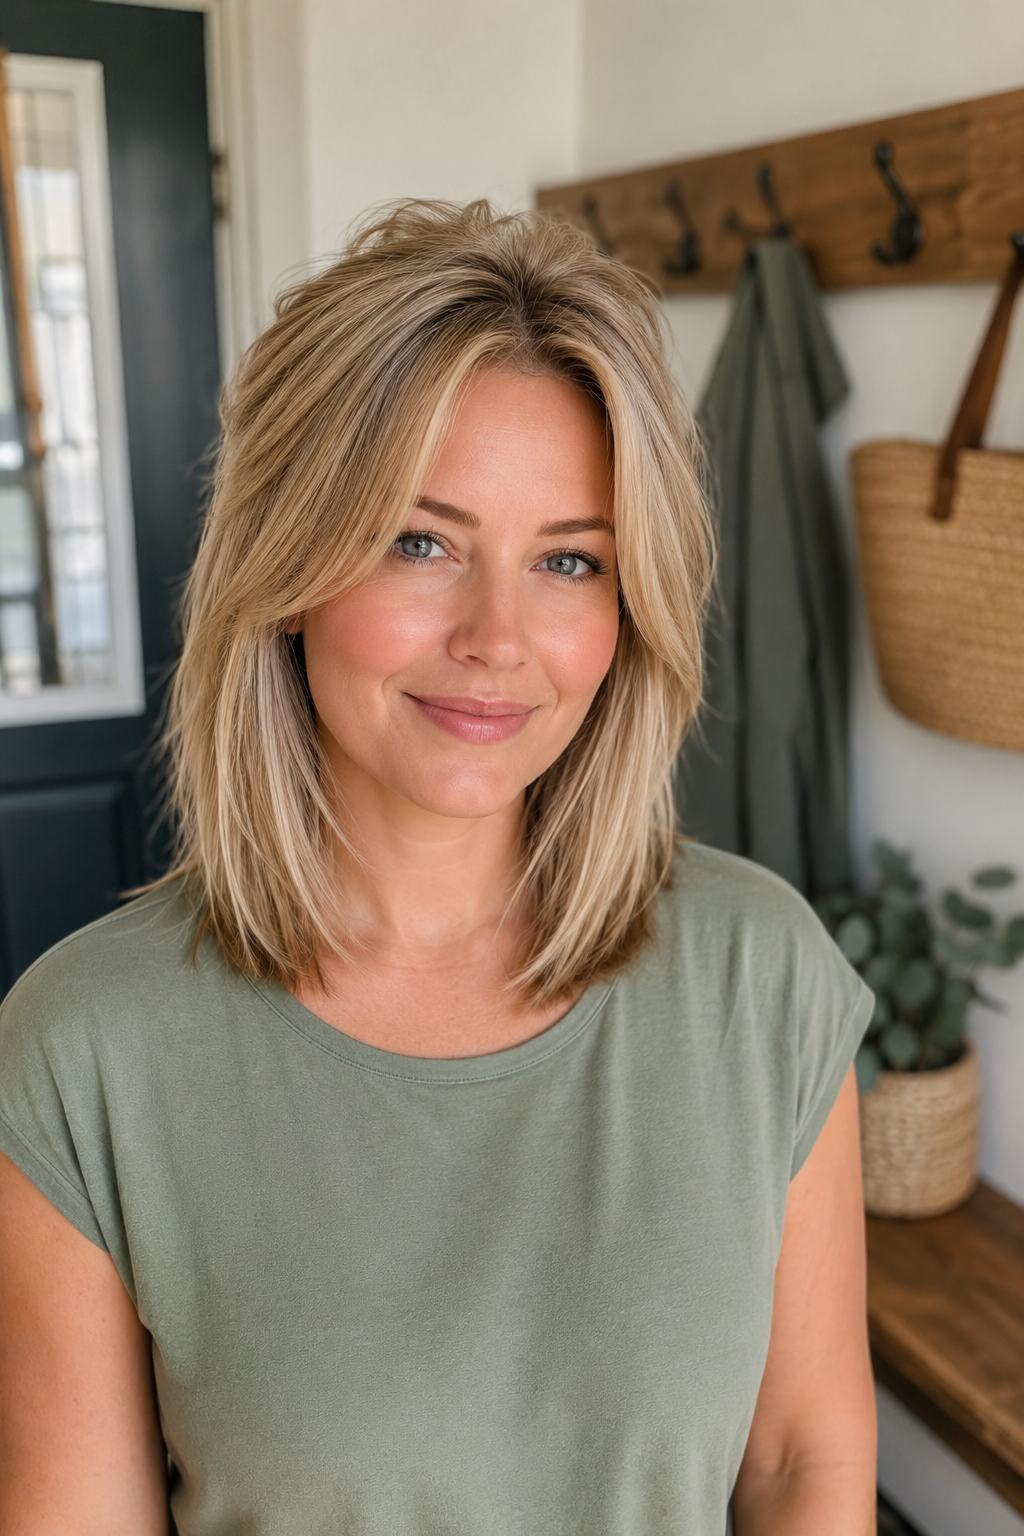
Short layers concentrated only at the crown, with the rest of the length untouched.
The weight of everything below is what flattens the top. Removing a little at the crown releases it.
Perfect for anyone who likes their length and just wants height. It is a small adjustment that often solves the problem people bring to the chair asking for a full restructure.
Choppy Layers
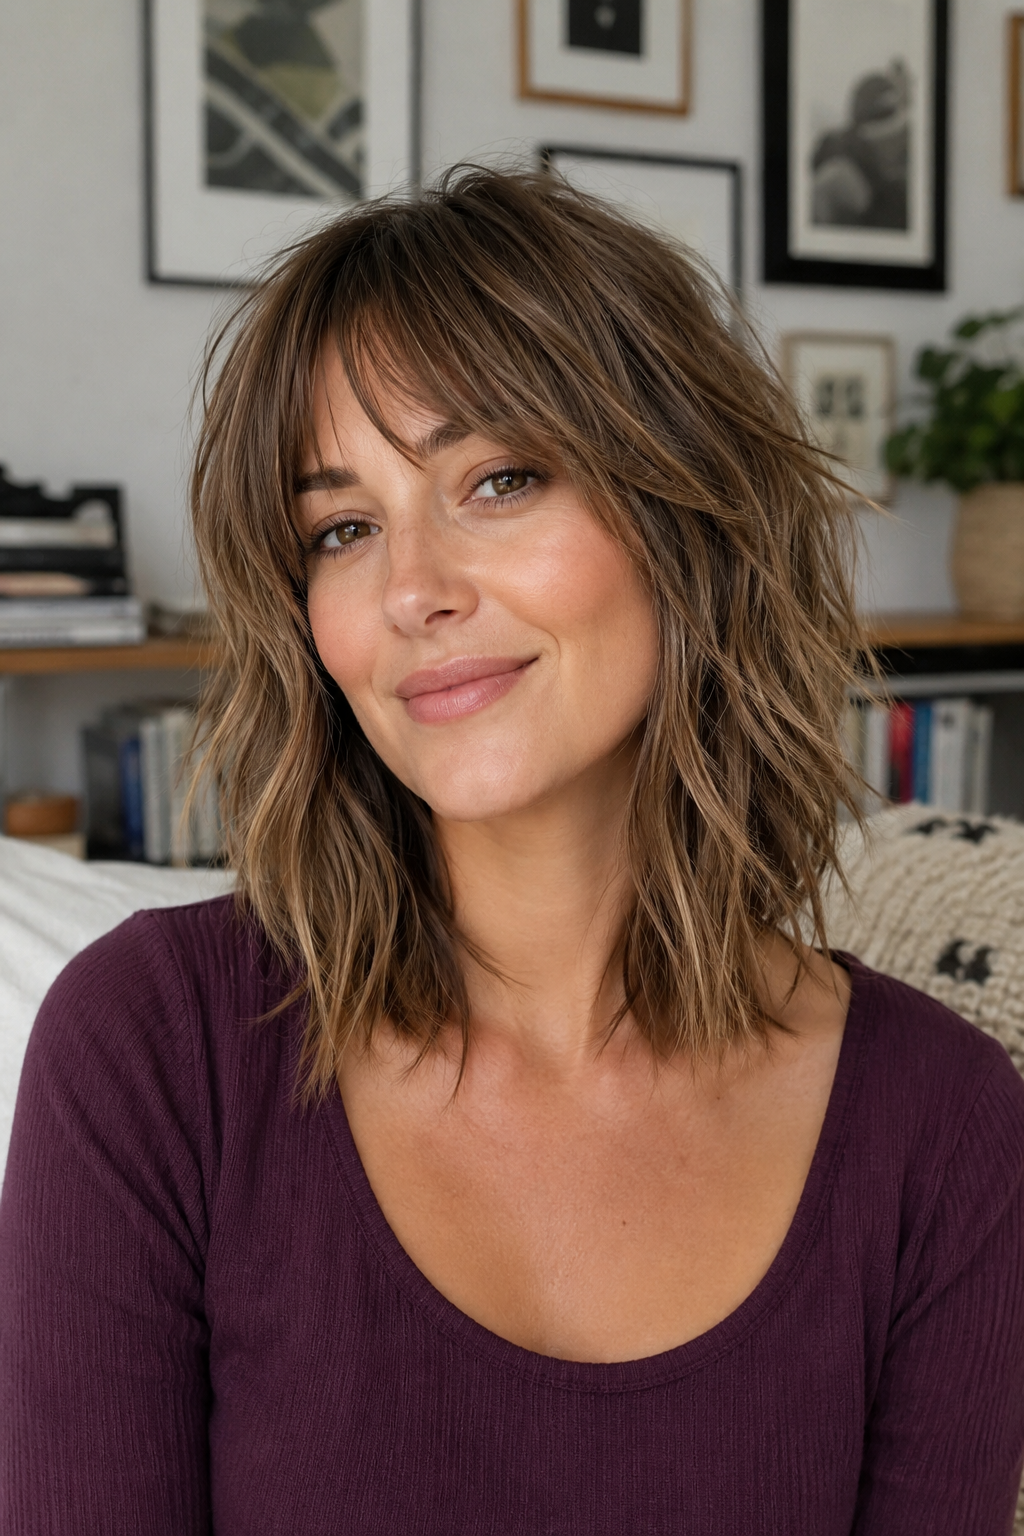
Layers cut with visible breaks between them and ends left deliberately uneven.
The roughness is the design. These are meant to be seen rather than blended away.
Suits medium to thick hair and a casual look. Our messy medium hairstyles post covers how to style them so they read relaxed rather than untidy.
Feathered Layers
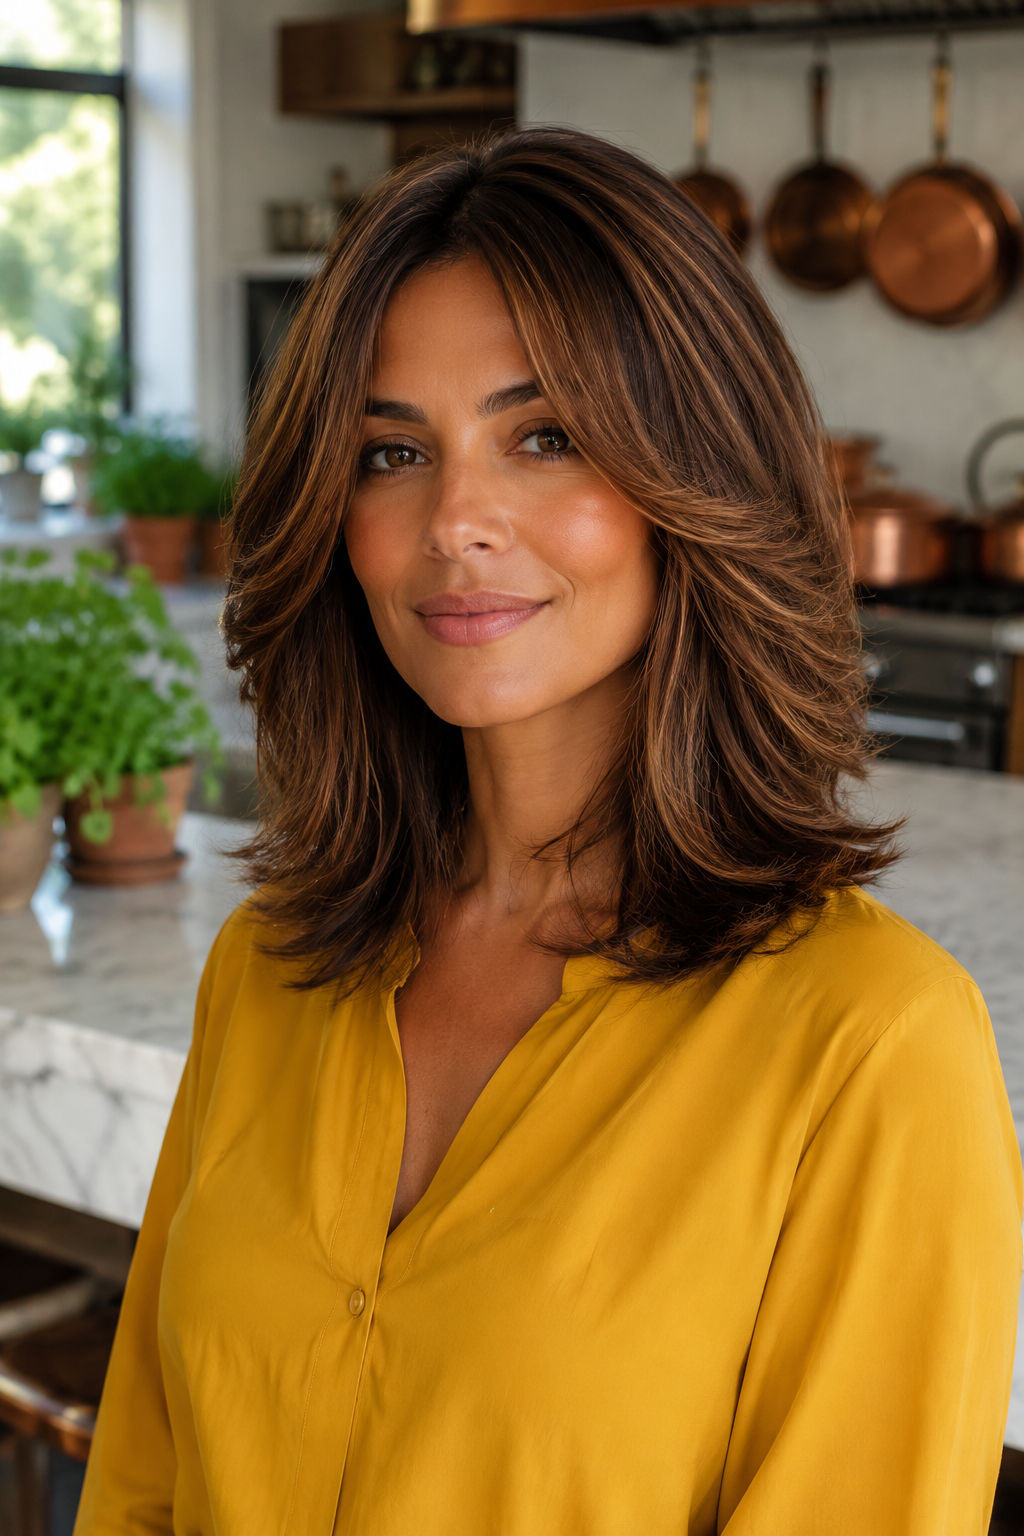
Layers cut at an angle so the ends taper and lift away from the face.
Feathering makes the ends lighter, which is what lets them flick rather than hang.
Great for medium to thick density. Fine hair generally should not have this, since the ends are already light and tapering them further makes them look wispy.
Wispy Blended Layers
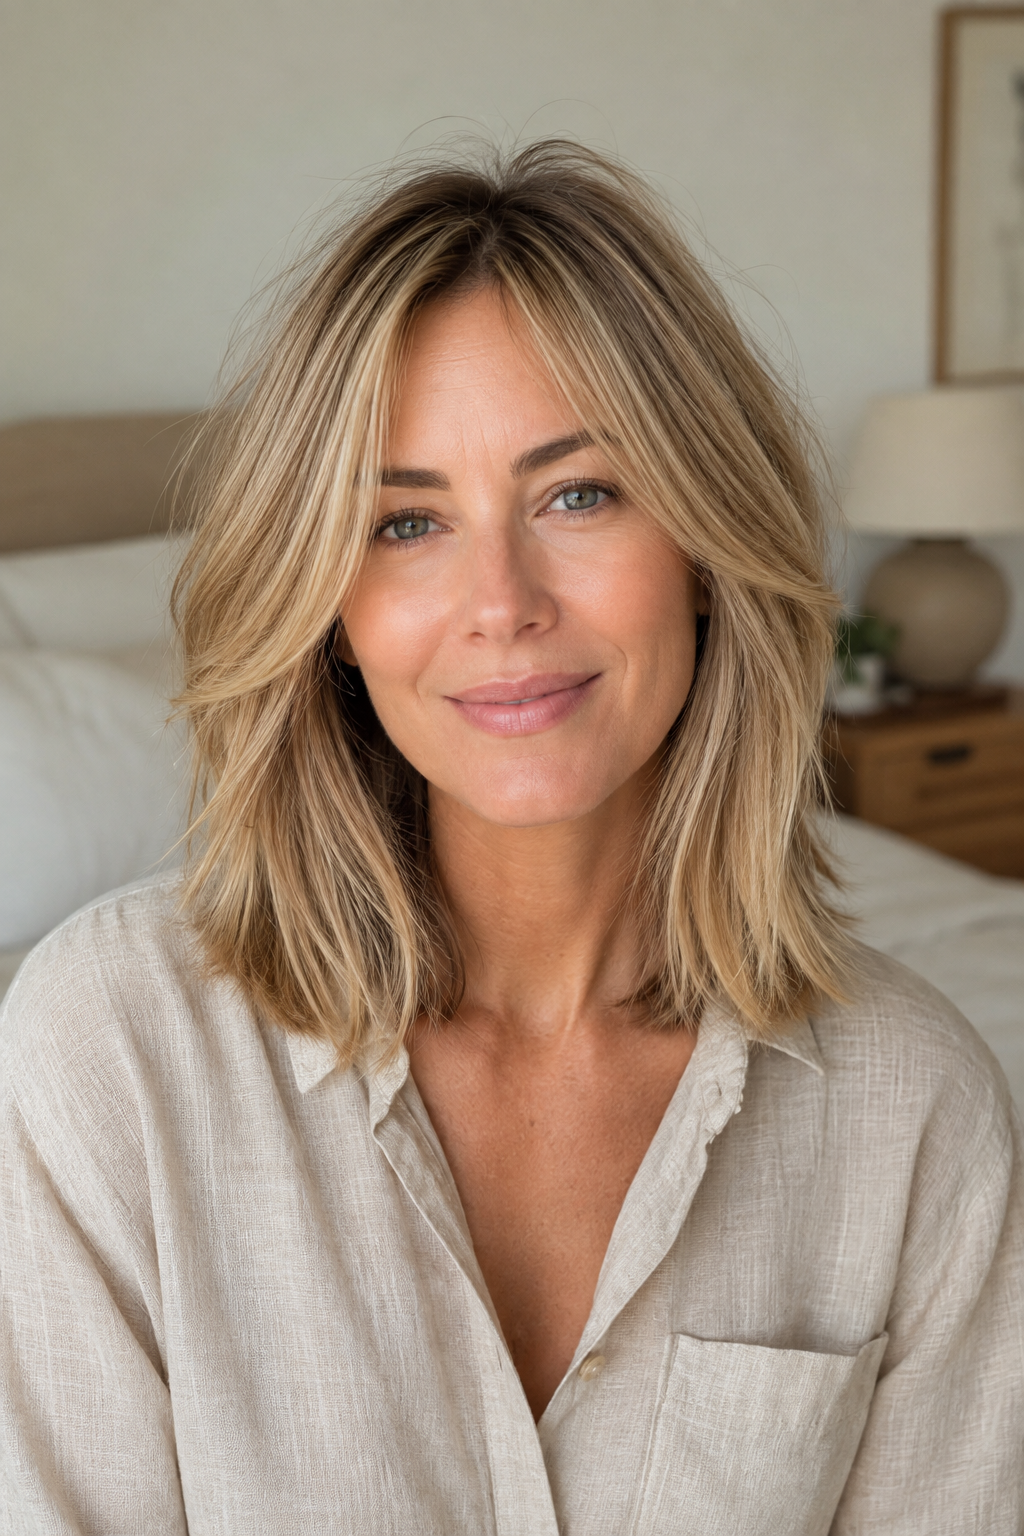
Very light layers cut so they diffuse into the length with no visible starting point.
Done properly nobody can tell where the layers begin, which is what separates them from the stepped layering that makes hair look thin.
Suits anyone burned by layers before. Ask specifically for blended and light. That phrasing gets you a different result than simply asking for layers.
Tiered Layers
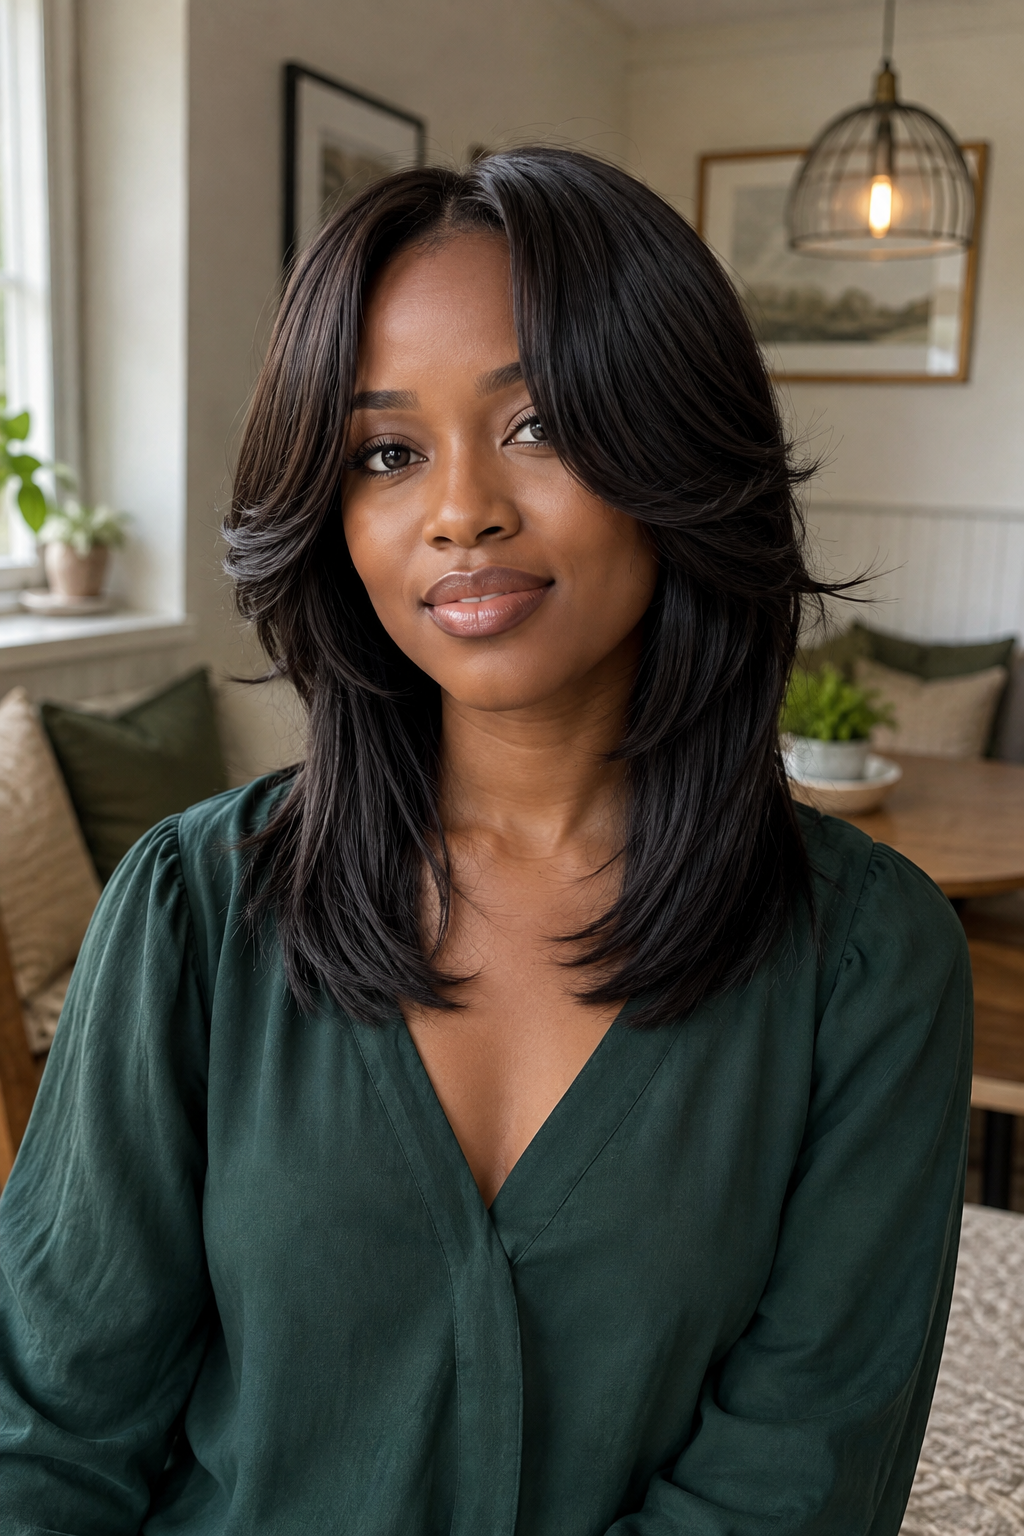
Two clearly separate lengths cut into one head of hair, with a short top tier sitting over a much longer bottom one.
This is the structure behind the butterfly cut, and the visible gap between tiers is the entire effect.
Perfect for anyone wanting the look of shorter hair without cutting the length. Be aware that heavily tiered cuts need styling daily, which stylists warn about regularly.
Shag Layers
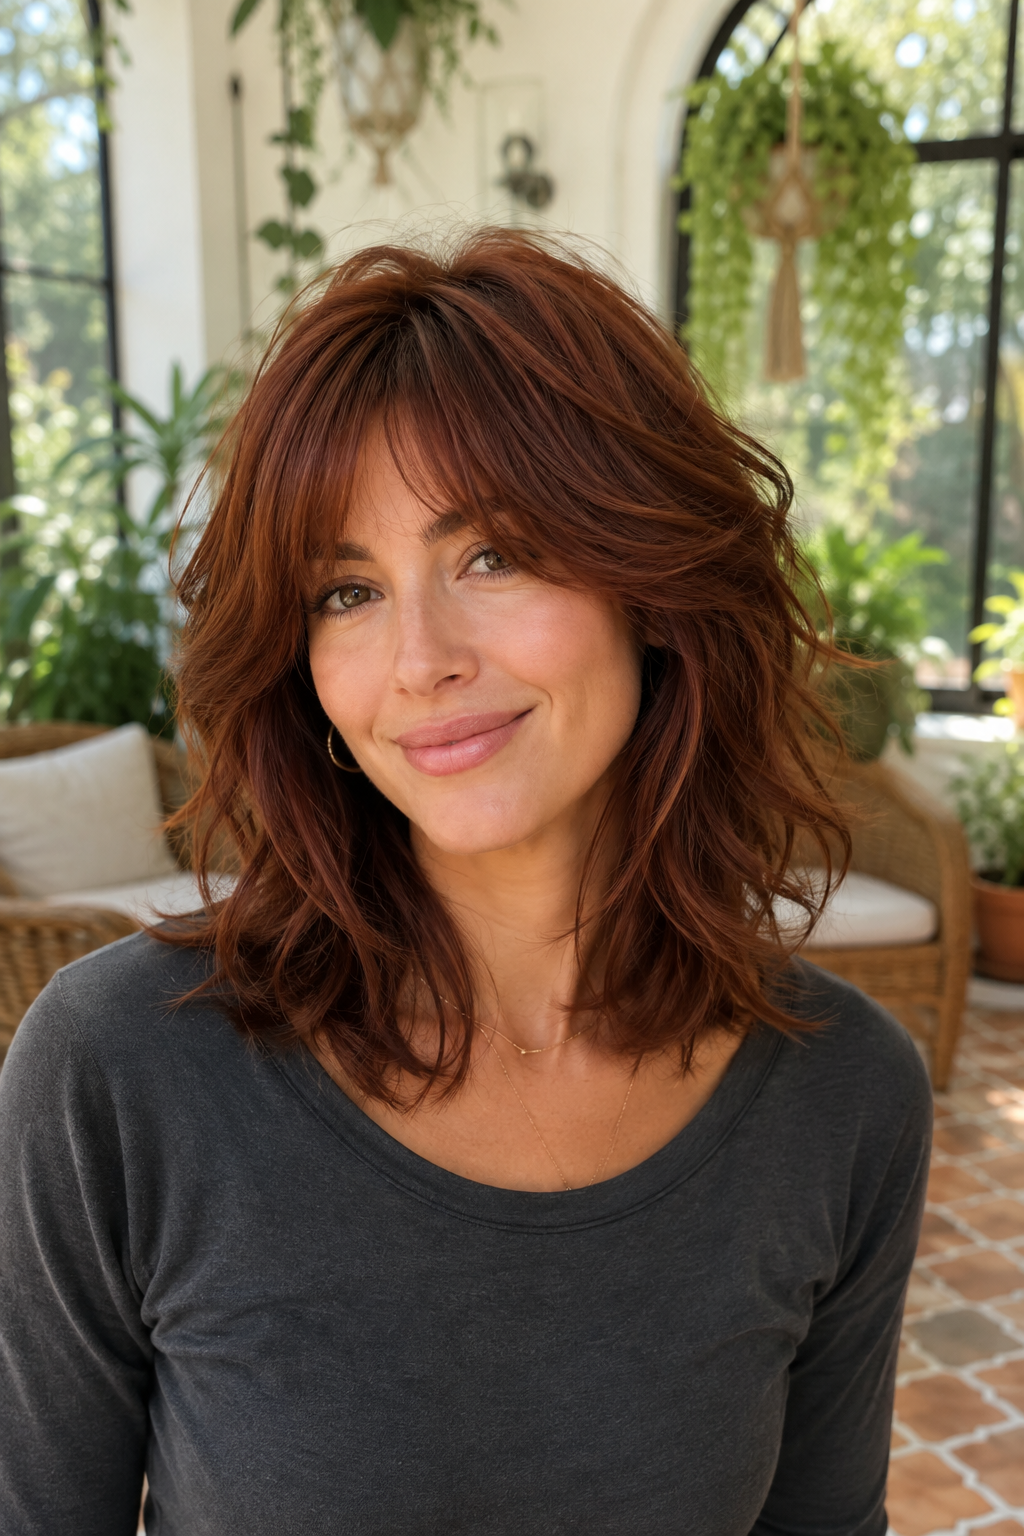
Layers built through the whole head, shortest at the crown and getting progressively longer toward the ends.
The continuous progression is what gives a shag its lift at the top and movement at the bottom.
Works especially well on thick or wavy hair. See our shaggy lob collection for how the shape sits at collarbone length.
Rachel Layers
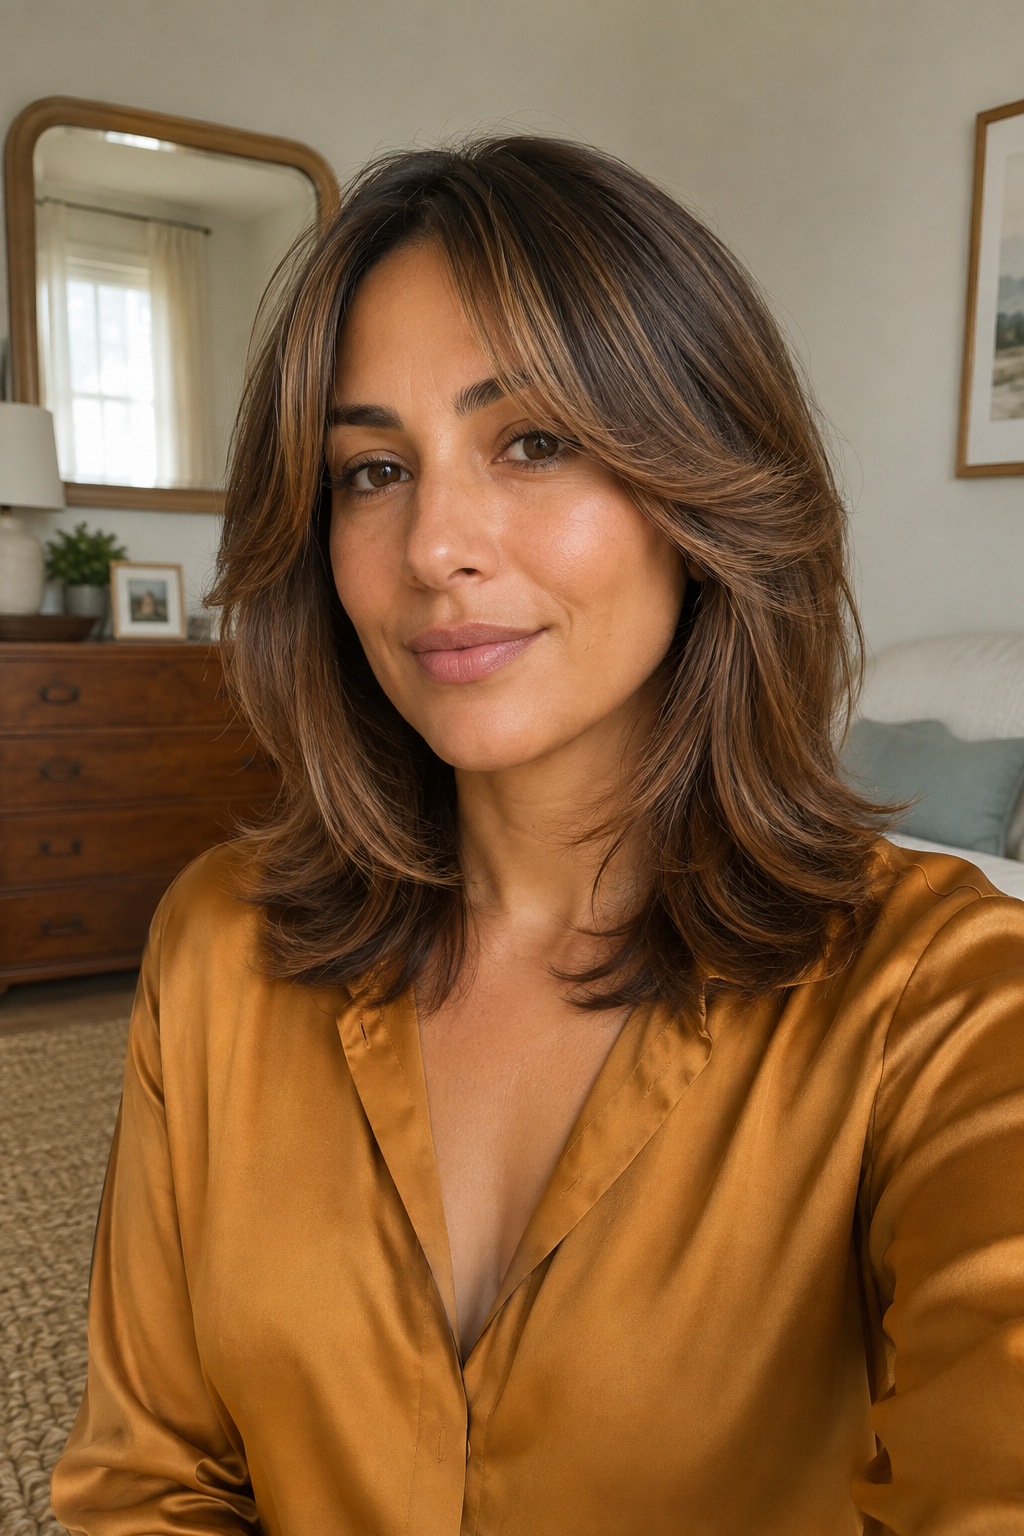
Layers falling at and just below the cheekbones, cut to flick outward and away from the face.
The nineties version was heavily stepped. The current one blends more, though the placement is the same.
Great for anyone who wants obvious movement at the front. It relies on a round brush to sit right, so factor that into your morning.
Layers Blended Into Curtain Bangs
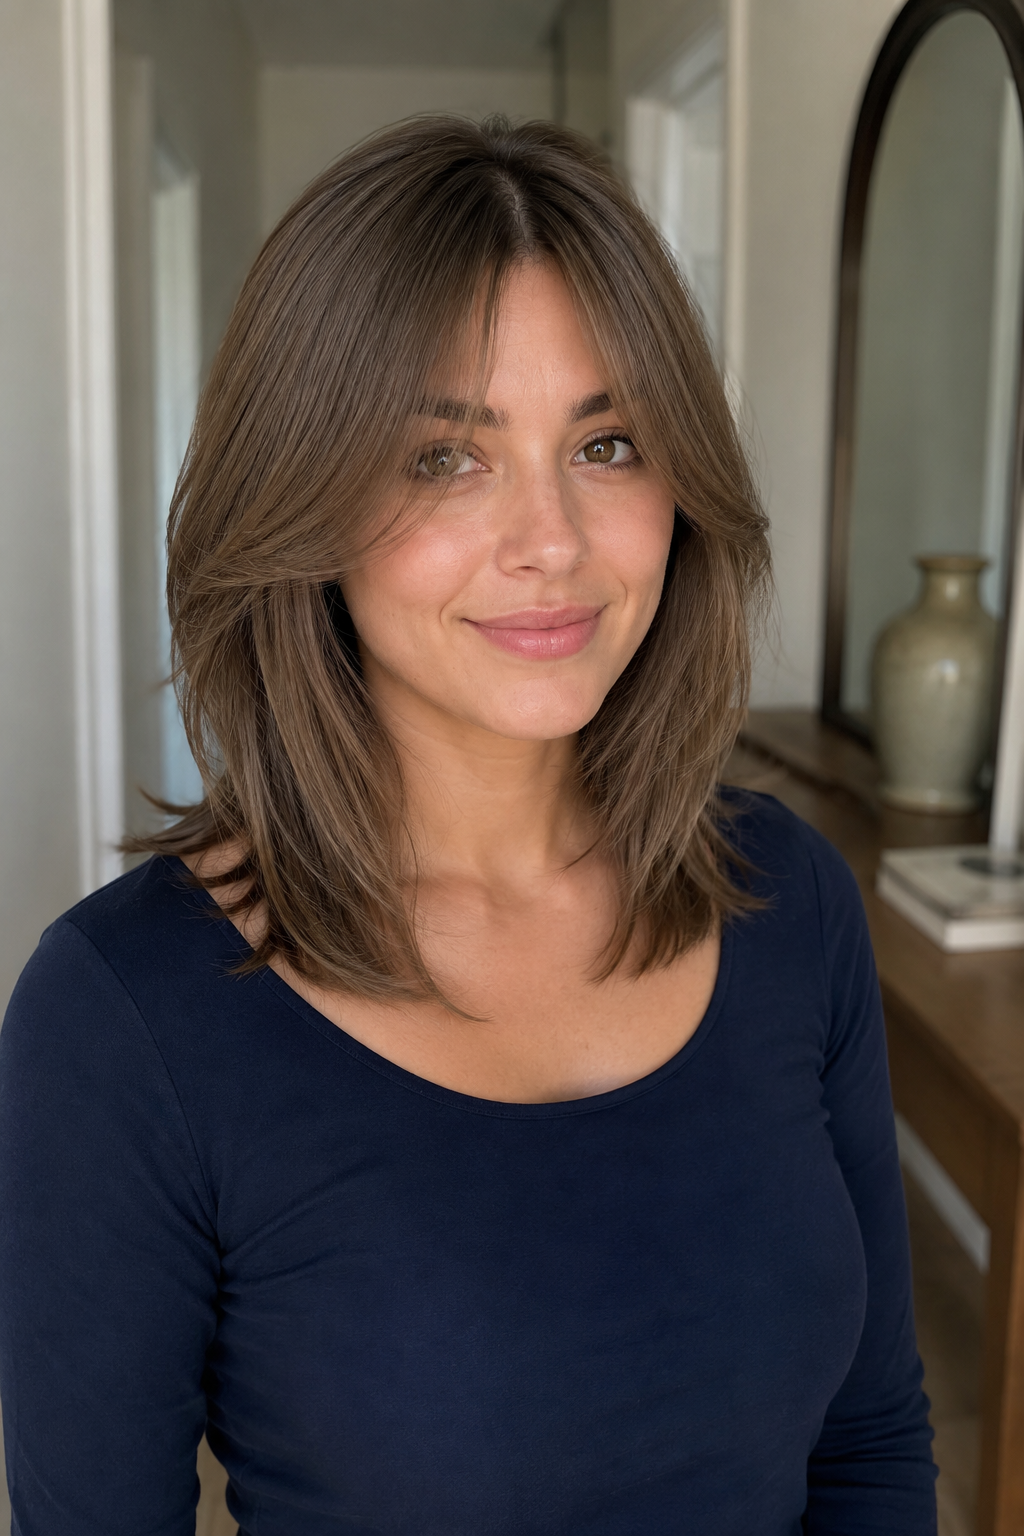
Face-framing layers cut to continue on from a curtain fringe, so the bangs and the layers read as one piece.
Cutting them separately leaves a visible gap where the fringe ends. Blending them removes it.
Suits anyone already wearing curtain bangs. Our guide to medium hairstyles with curtain bangs covers the fringe length that blends most cleanly.
Layers Over a Blunt Perimeter
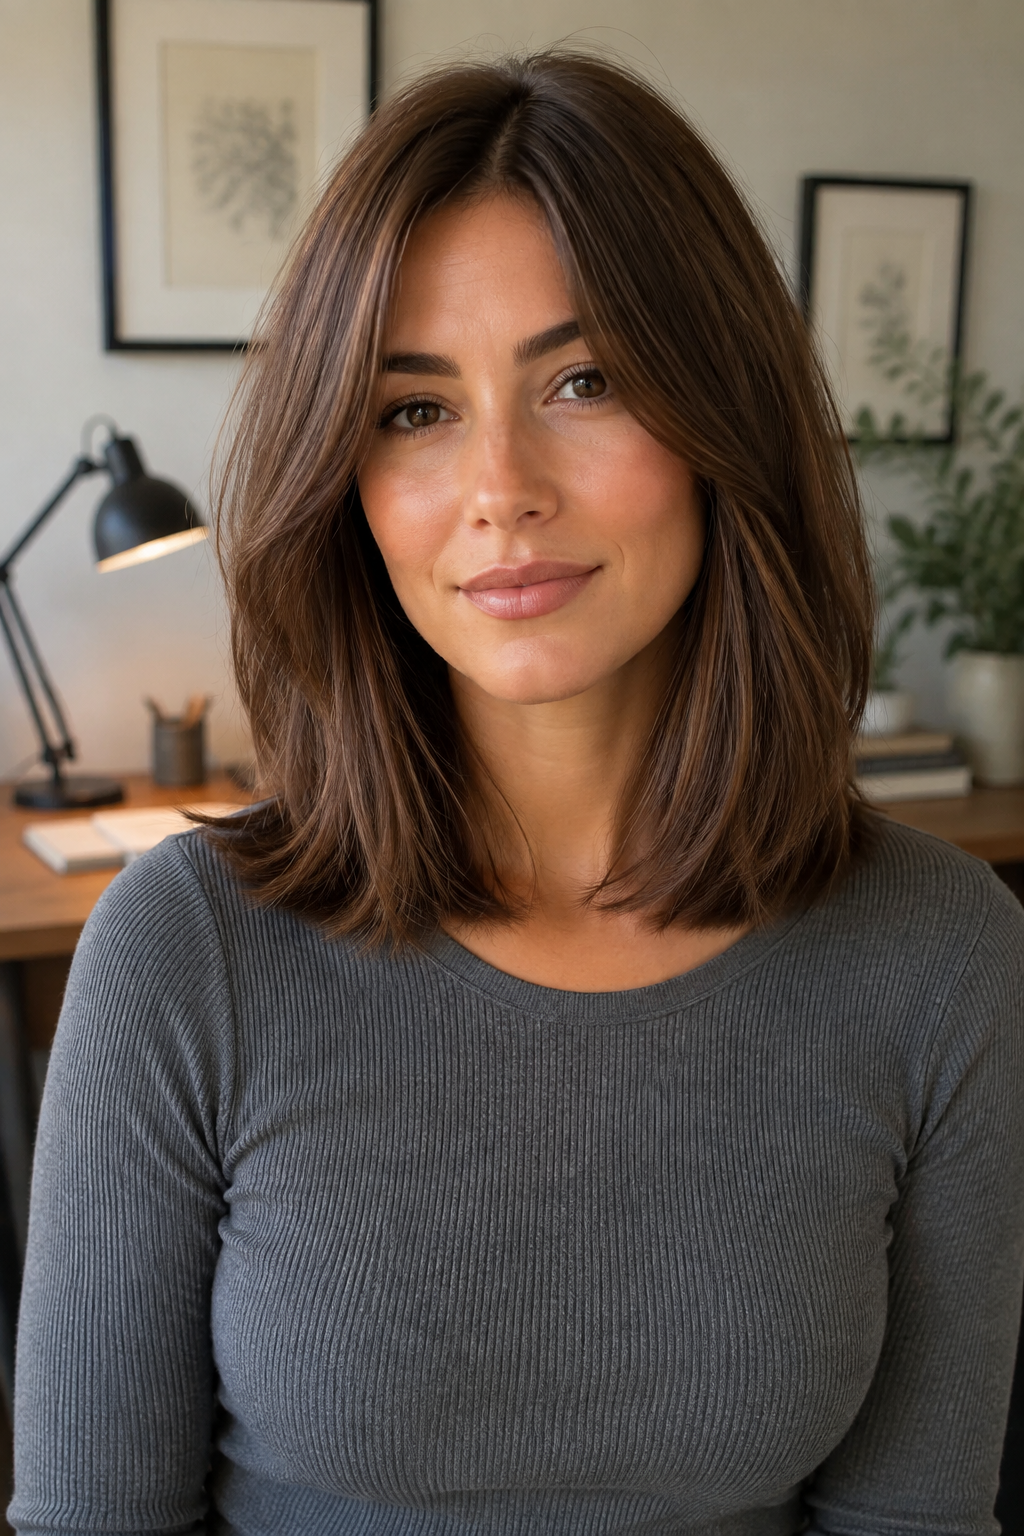
Layers cut above a bottom line that stays completely solid, so the ends never taper.
You get movement in the body of the hair and full density at the very bottom, which is where thickness is judged.
Perfect for fine hair that needs both. Our lob hairstyles for fine hair post explains why the perimeter matters so much.
Weight Removal for Thick Hair
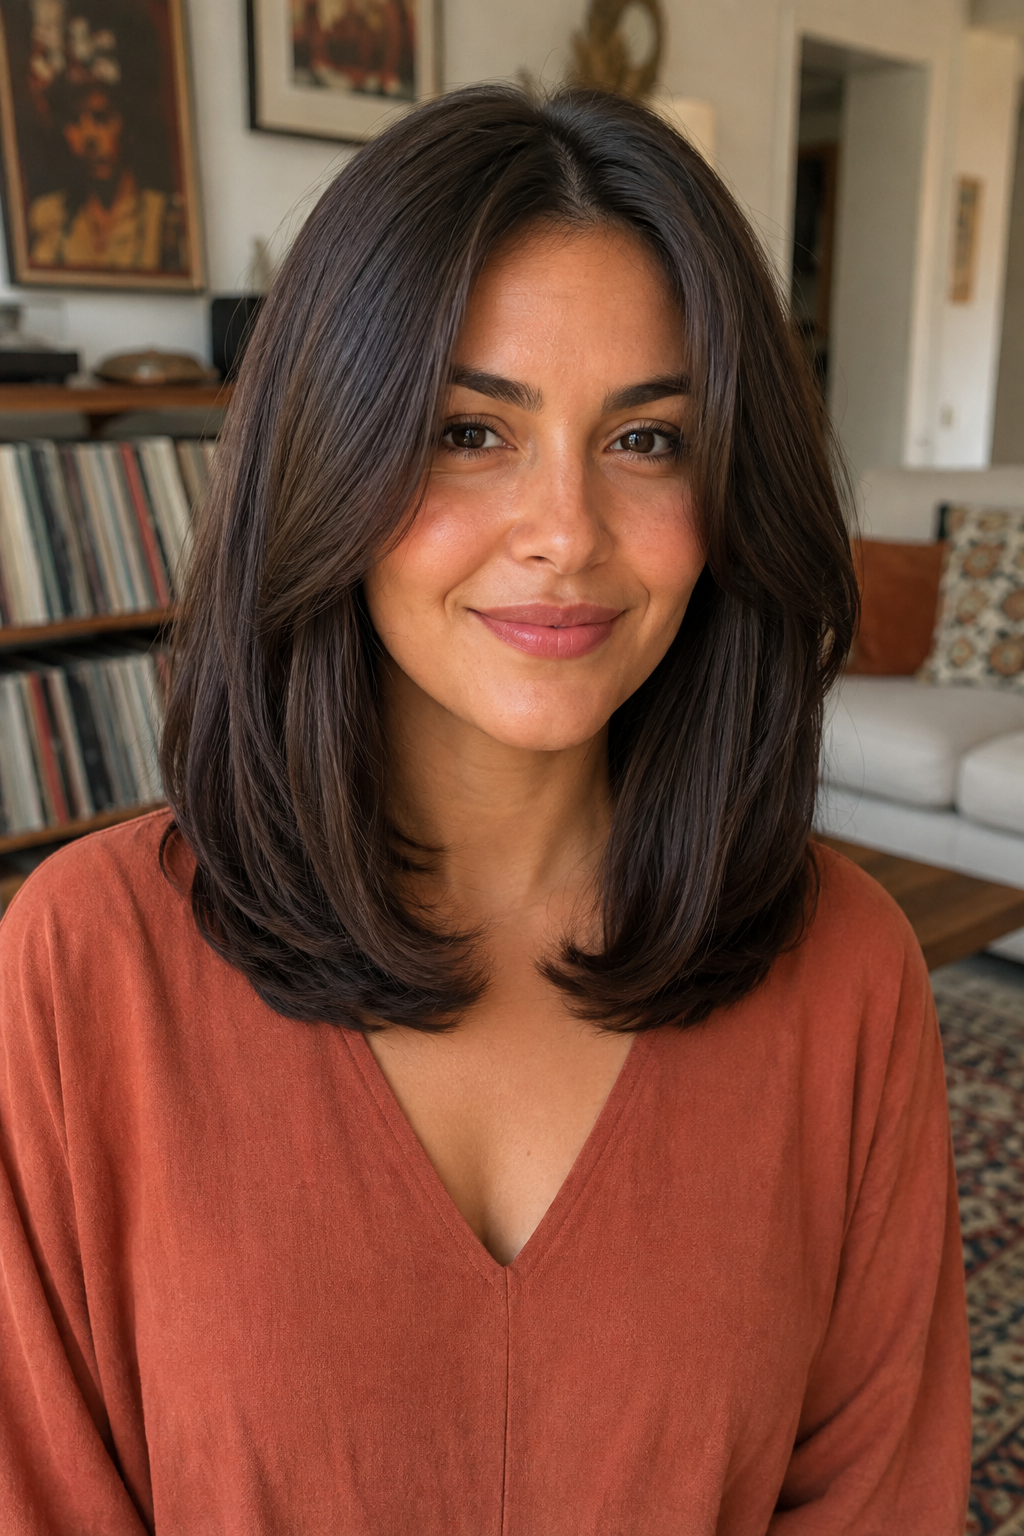
Layers cut specifically to take bulk out of the ends rather than to create movement.
Thick hair at shoulder length tends to widen into a triangle because all the density collects at the bottom. Removing it there fixes the shape.
Great if your hair feels heavy by evening. Ask for weight removal at the ends, since asking for layers alone can get you volume you did not want.
Minimal Layers for Fine Hair
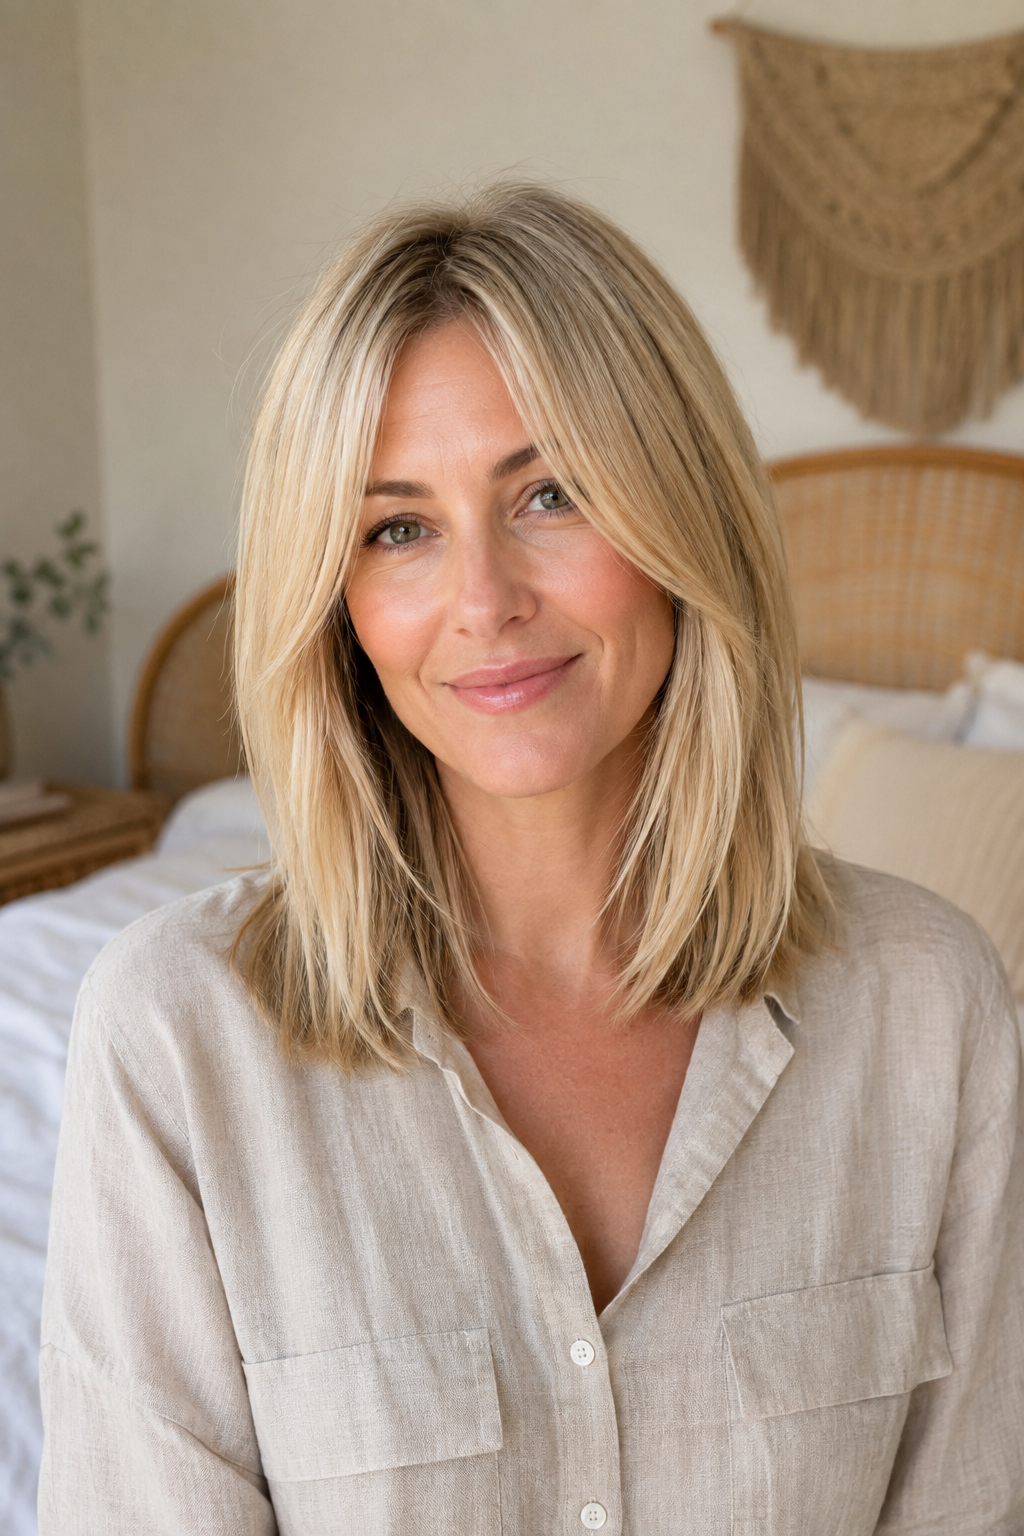
One or two long layers at most, cut low, with everything else left alone.
Over-layering is the single most common mistake on fine hair, and it leaves the ends see-through.
Suits anyone whose last layered cut made their hair look thinner. Our medium hairstyles for thin hair post goes further into what does and does not work.
Dry-Cut Layers for Curls
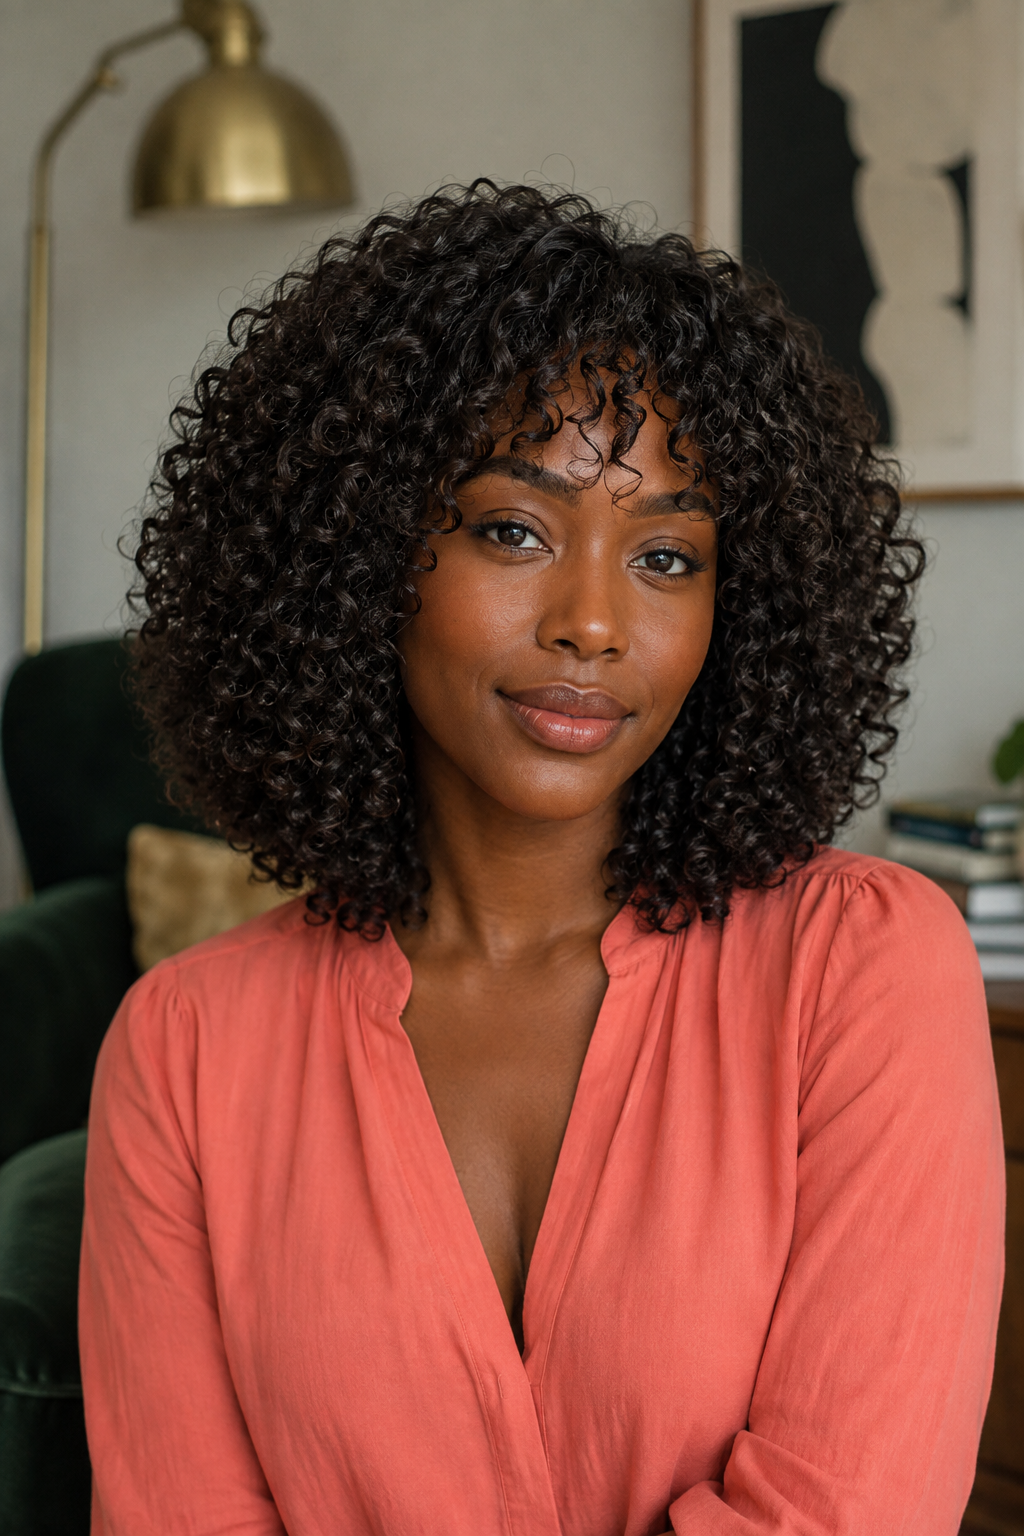
Layers cut on dry hair, curl by curl, following where each one naturally sits.
Wet cutting on curly hair produces surprises once it dries and springs up. Dry cutting removes the guesswork.
Perfect for 3A texture and tighter. It takes longer and costs more, and the results justify both. Our curly medium hairstyles post has more detail.
Layers Cut for Waves
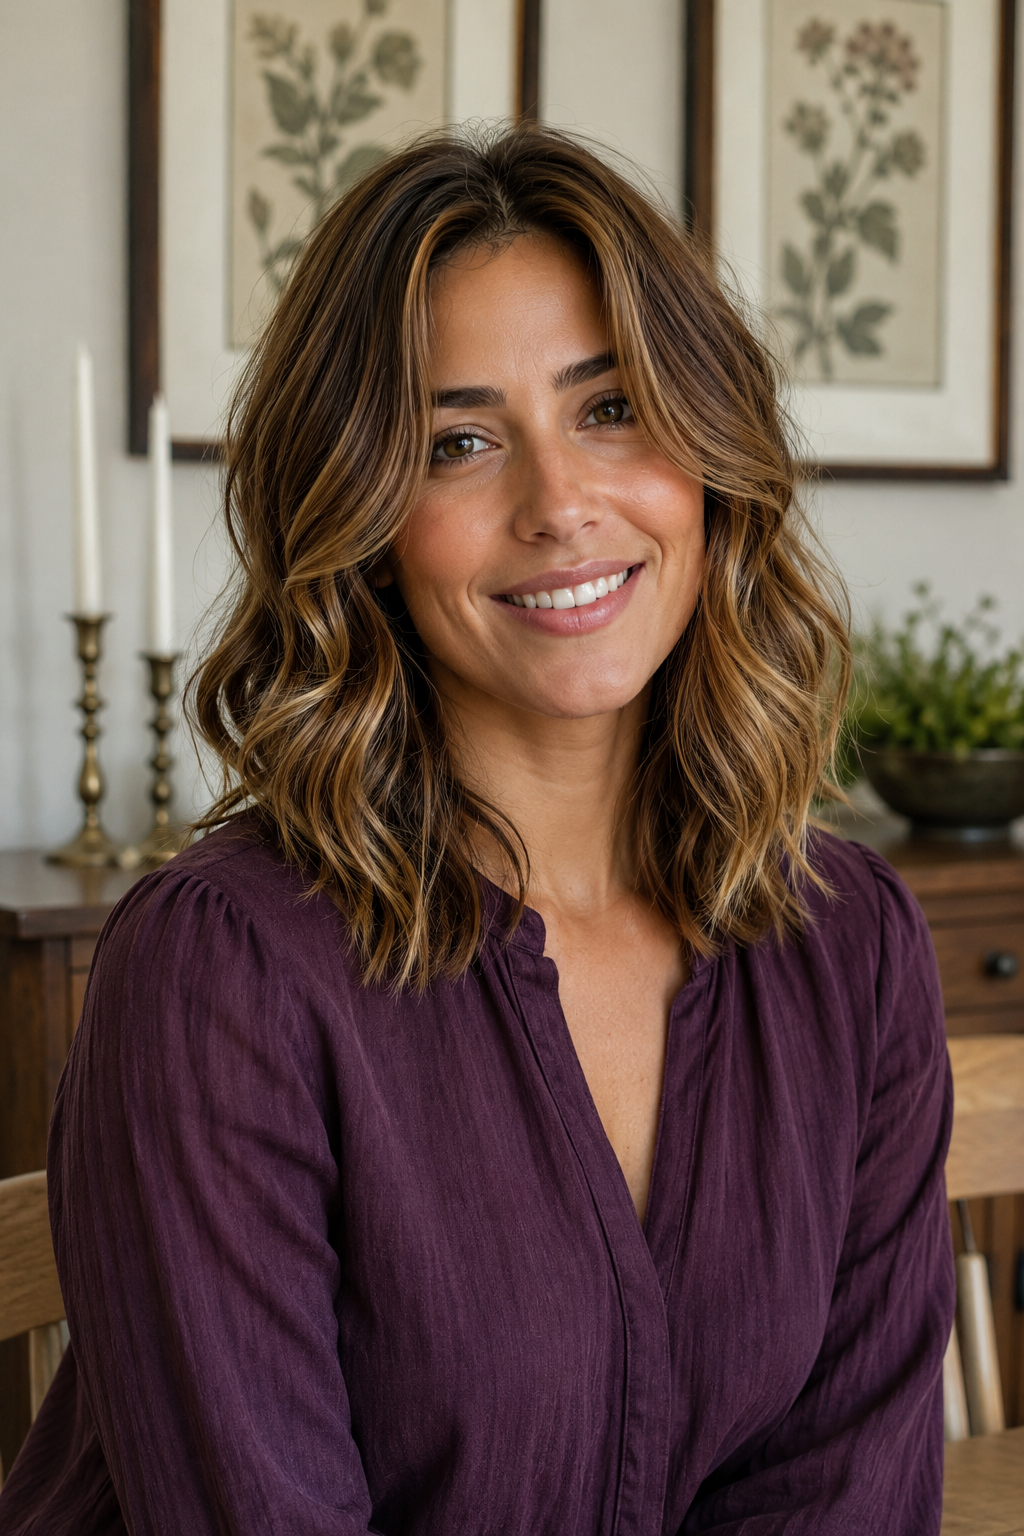
Layers positioned so the wave pattern falls into them rather than being interrupted by them.
Waves bend at fairly regular intervals, and layers cut without accounting for that can land mid-bend and break the pattern.
Works especially well on 2B and 2C texture. See our wavy medium hairstyles post for shapes built around this.
Softened Ends Only
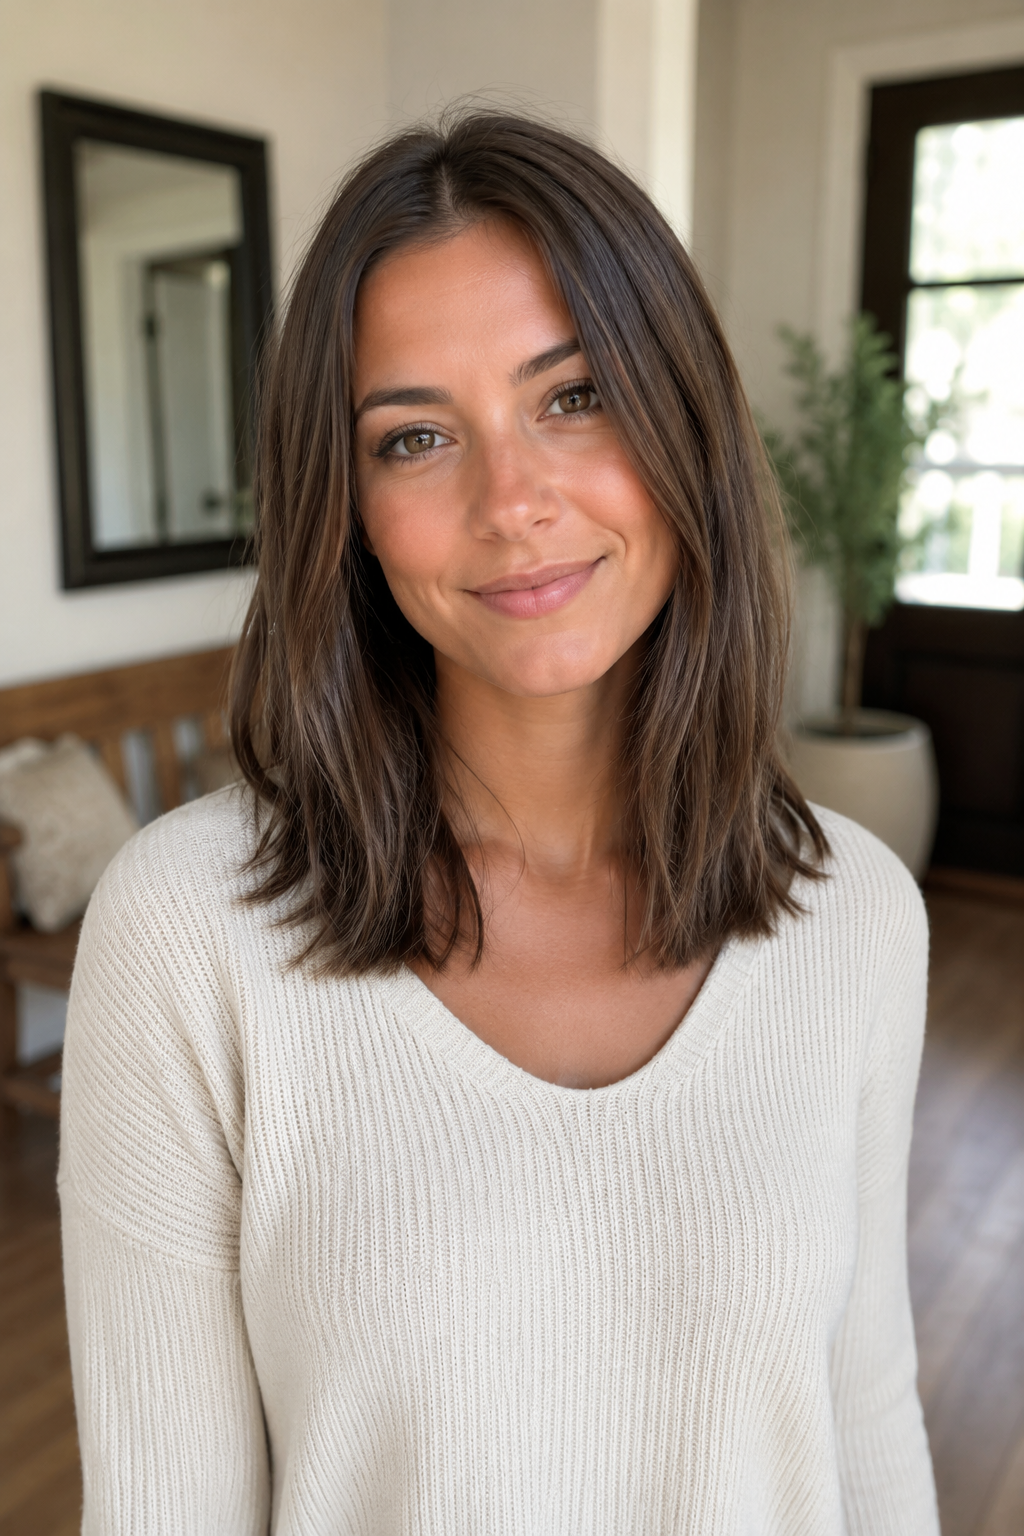
The very ends lightly broken up, with no actual layering anywhere in the length.
This is the smallest possible intervention. It stops the bottom line looking severe without removing any real weight.
Great for anyone who wants their hair to look less blunt but is not ready for layers. It also grows out invisibly, so there is nothing to commit to.
Grown-Out Layers Reshaped
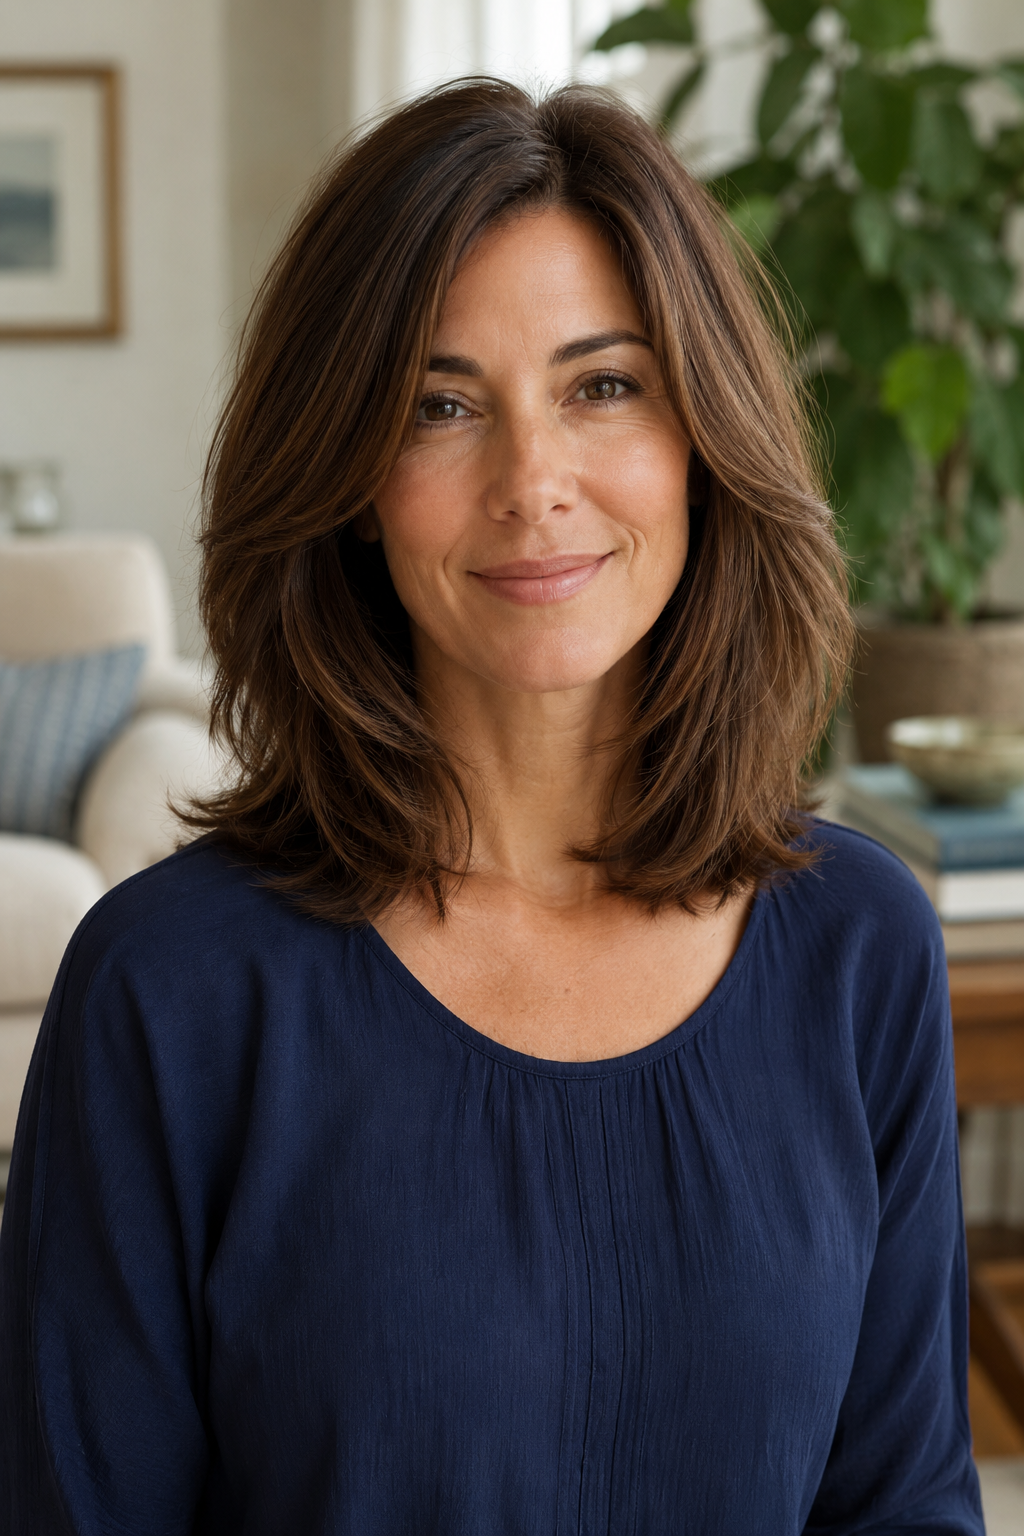
Existing layers tidied and blended rather than cut shorter, so the shape returns without losing length.
Layers do not disappear as they grow. They lengthen unevenly, which is why grown-out layered hair starts to look shapeless rather than simply longer.
Perfect for anyone between decisions. Ask for the layers to be blended down rather than refreshed, and you keep every inch while getting the shape back.
Comments
No Comments