
25 Awkward Length 4C Hairstyles That Make the In-Between Stage Look Intentional
Every natural hits it eventually. Your hair has grown past the TWA, your old go-to styles suddenly fall flat, and it's not long enough to bun or hang, so you end up with fifty bobby pins overlapping and a fresh urge to cut it all off. Do not. The awkward stage is actually the most versatile point of the whole journey, and shrinkage is your friend here, not your enemy. It keeps a fro, a puff, and a frohawk on the table long after a hanging style would. Here are 25 ways to make this length look deliberate while you protect your ends.
Jump to:
- High Puff
- Mini Puffs
- Double Puffs
- Twist-Out
- Twist-Out With Side Cornrows
- Braid-Out
- Flat Twists
- Flat Twist Crown
- Frohawk
- Flat Twist Frohawk
- Bantu Knots
- Bantu Knot-Out
- Bantu Knot Half-Up
- Deep Side Part Fro
- Accessorized Fro
- Wash-and-Go
- Stretched Banding
- Twist and Curl
- Half Twist-Out, Half Rod Set
- Flexi Rod Set
- Puff With a Bang
- Roll, Tuck and Pin Updo
- Twisted Updo
- Pin-Up Roll With a Puff
- Asymmetrical Pinned Fro
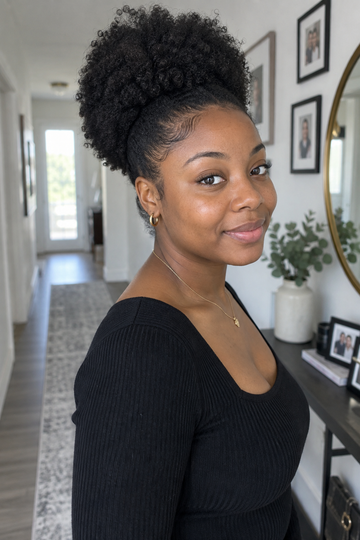
High Puff
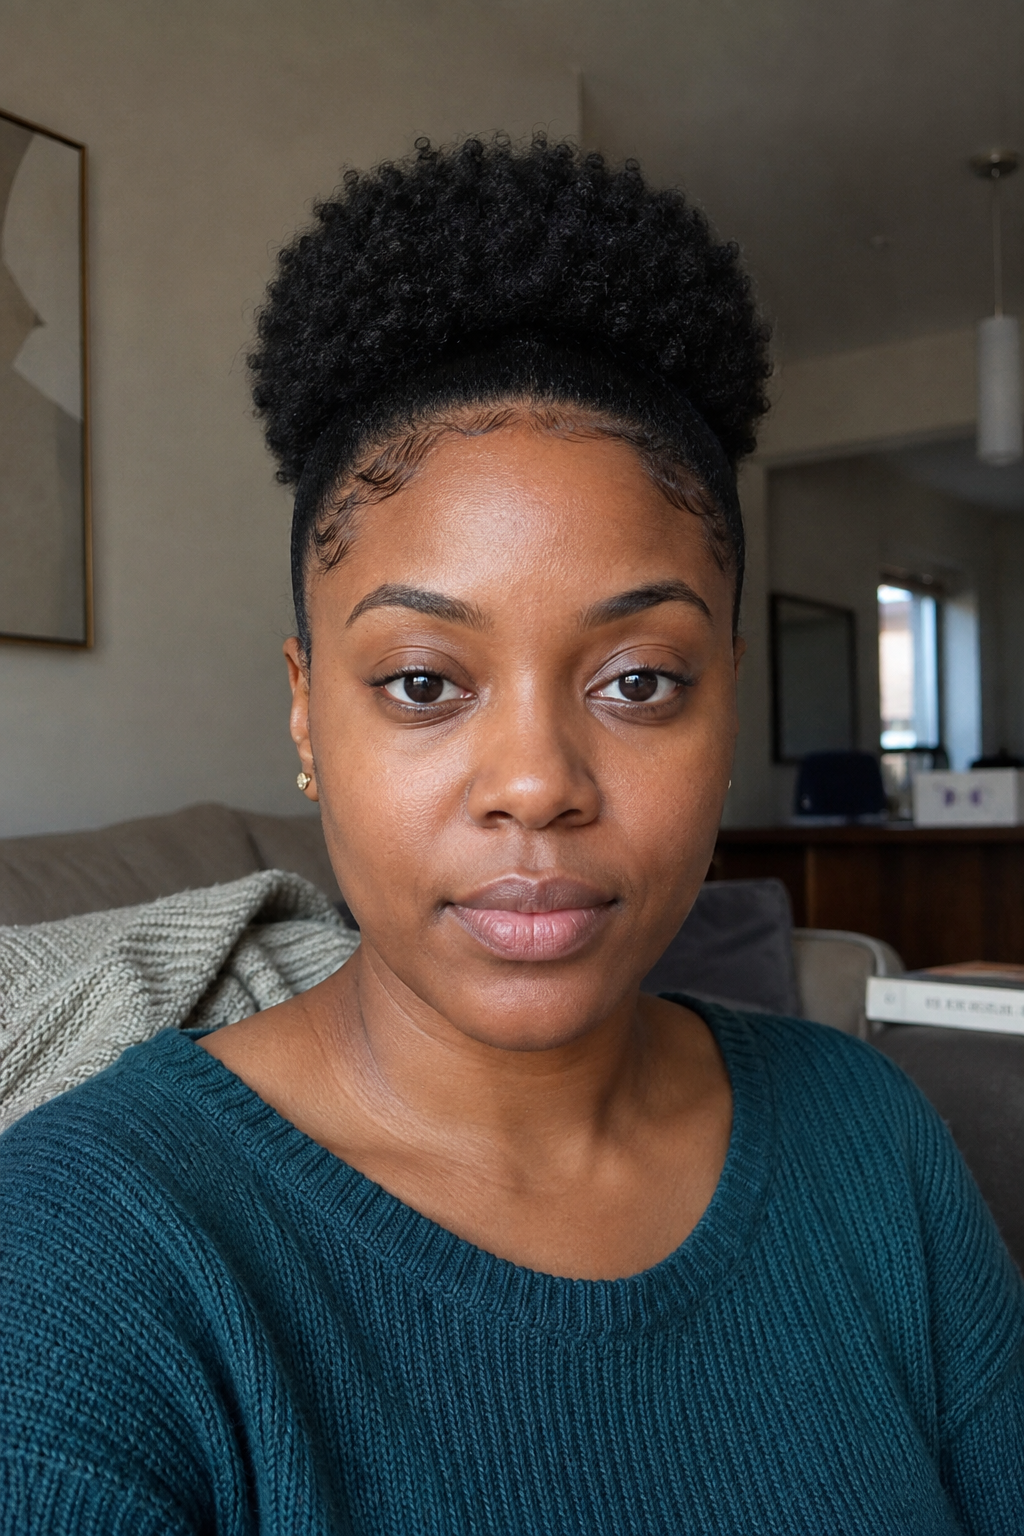
The style that seems made for this exact length. When your hair is too short for a real ponytail, the high puff gives the illusion of a big, full one anyway.
Gather everything up and back with a soft headband or edge control, pushing the volume forward for height. Shrinkage does the rest, filling out the shape.
Smooth your edges gently and tie a satin scarf around the base for a few minutes to set it. Keep the tension light so you protect the hairline you are trying to grow.
Mini Puffs
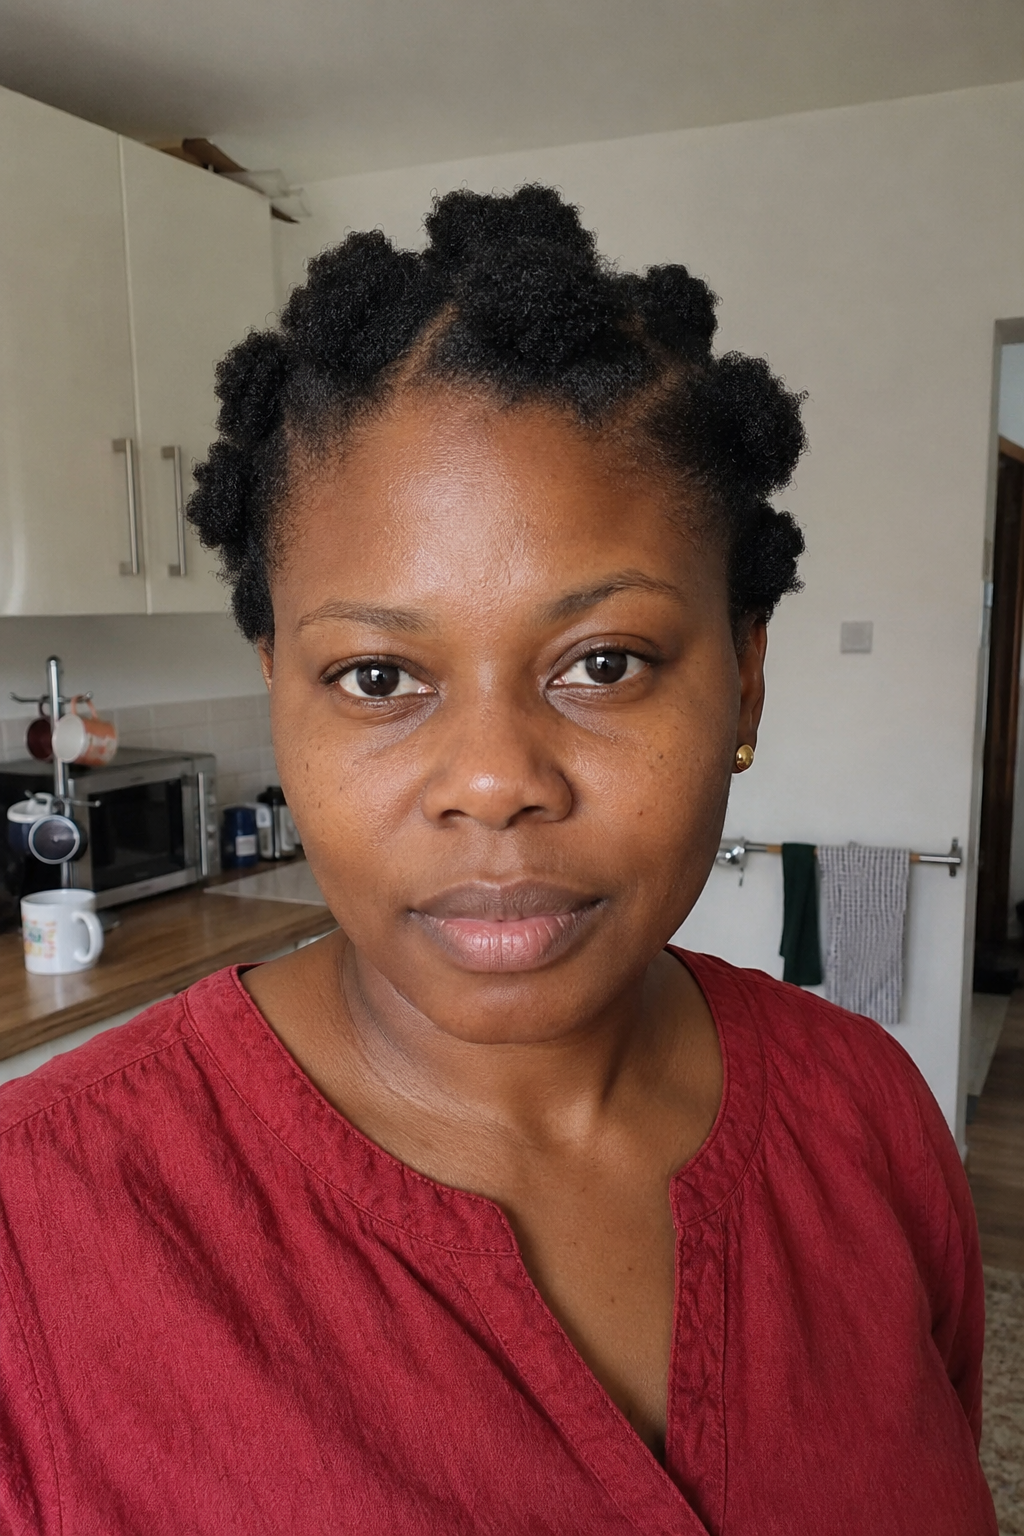
When the whole head will not gather into one puff cleanly, split it into several small ones and turn the problem into the feature.
Section the hair into a grid, secure each with a soft band, and let each little puff coil up. A deep side part adds instant drama across the front.
These protect your ends while looking polished enough for work. Add a colorful scarf as a headband to lift the look for an occasion.
Double Puffs
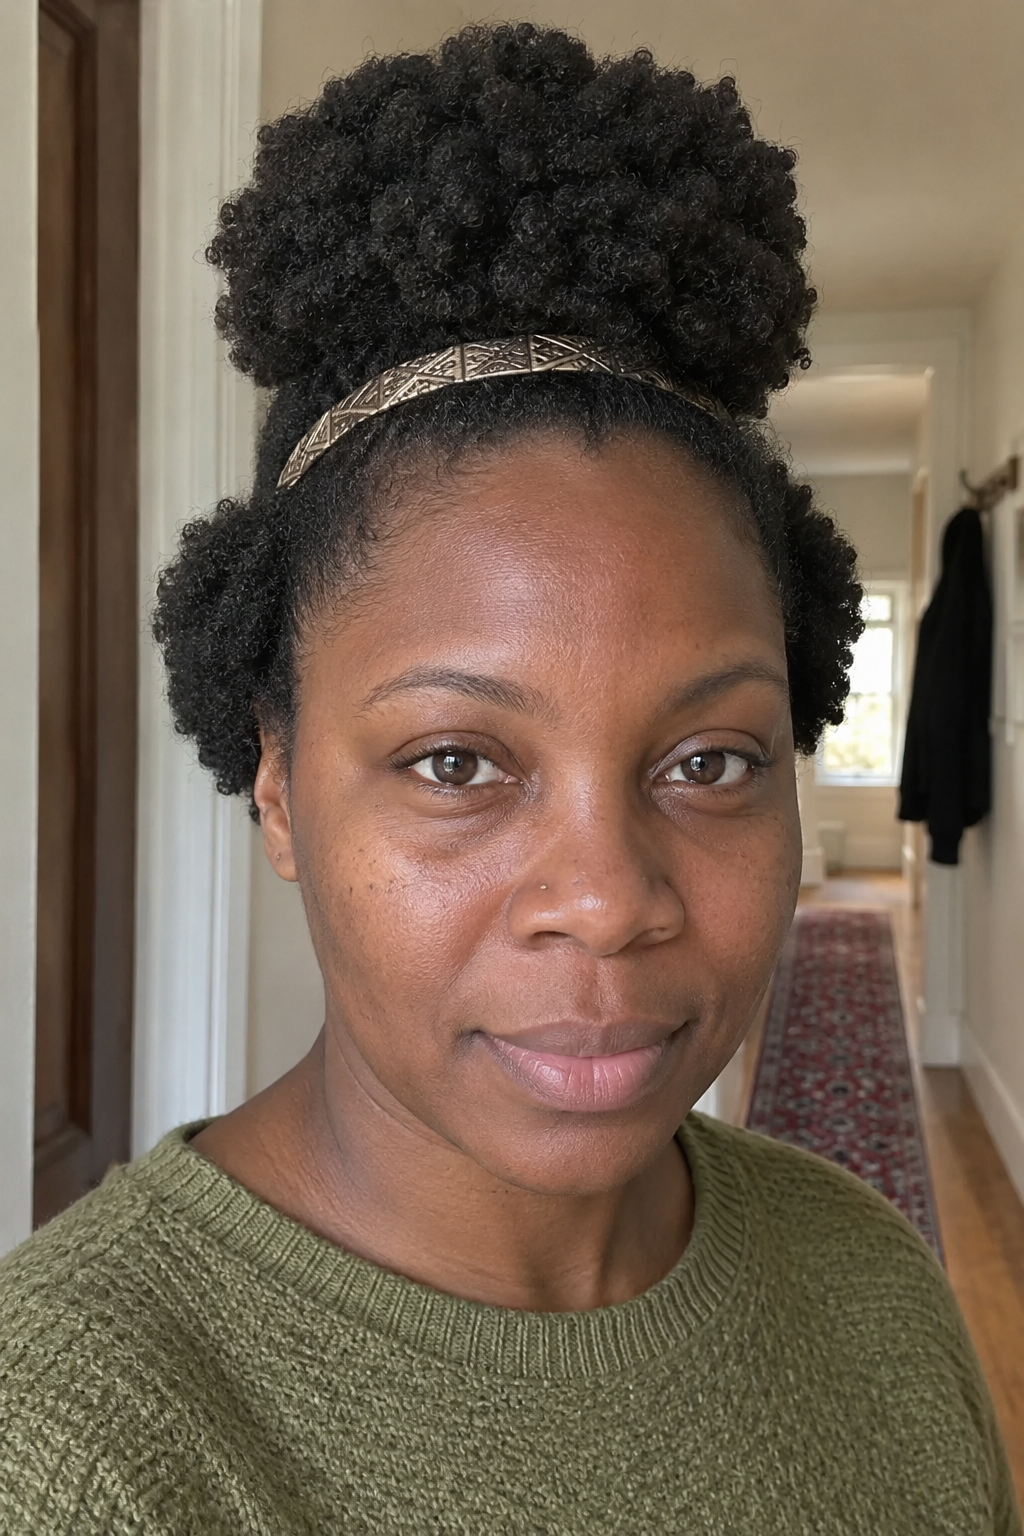
Split the hair from ear to ear into a front and back section and gather each into its own puff for a playful two-puff effect.
The split means each section only needs enough length to gather into a small puff, which is exactly what this stage has.
Connect the two with a decorative headband or scarf across the middle. It gives your awkward length height and dimension while keeping the ends tucked inside the puffs.
Twist-Out
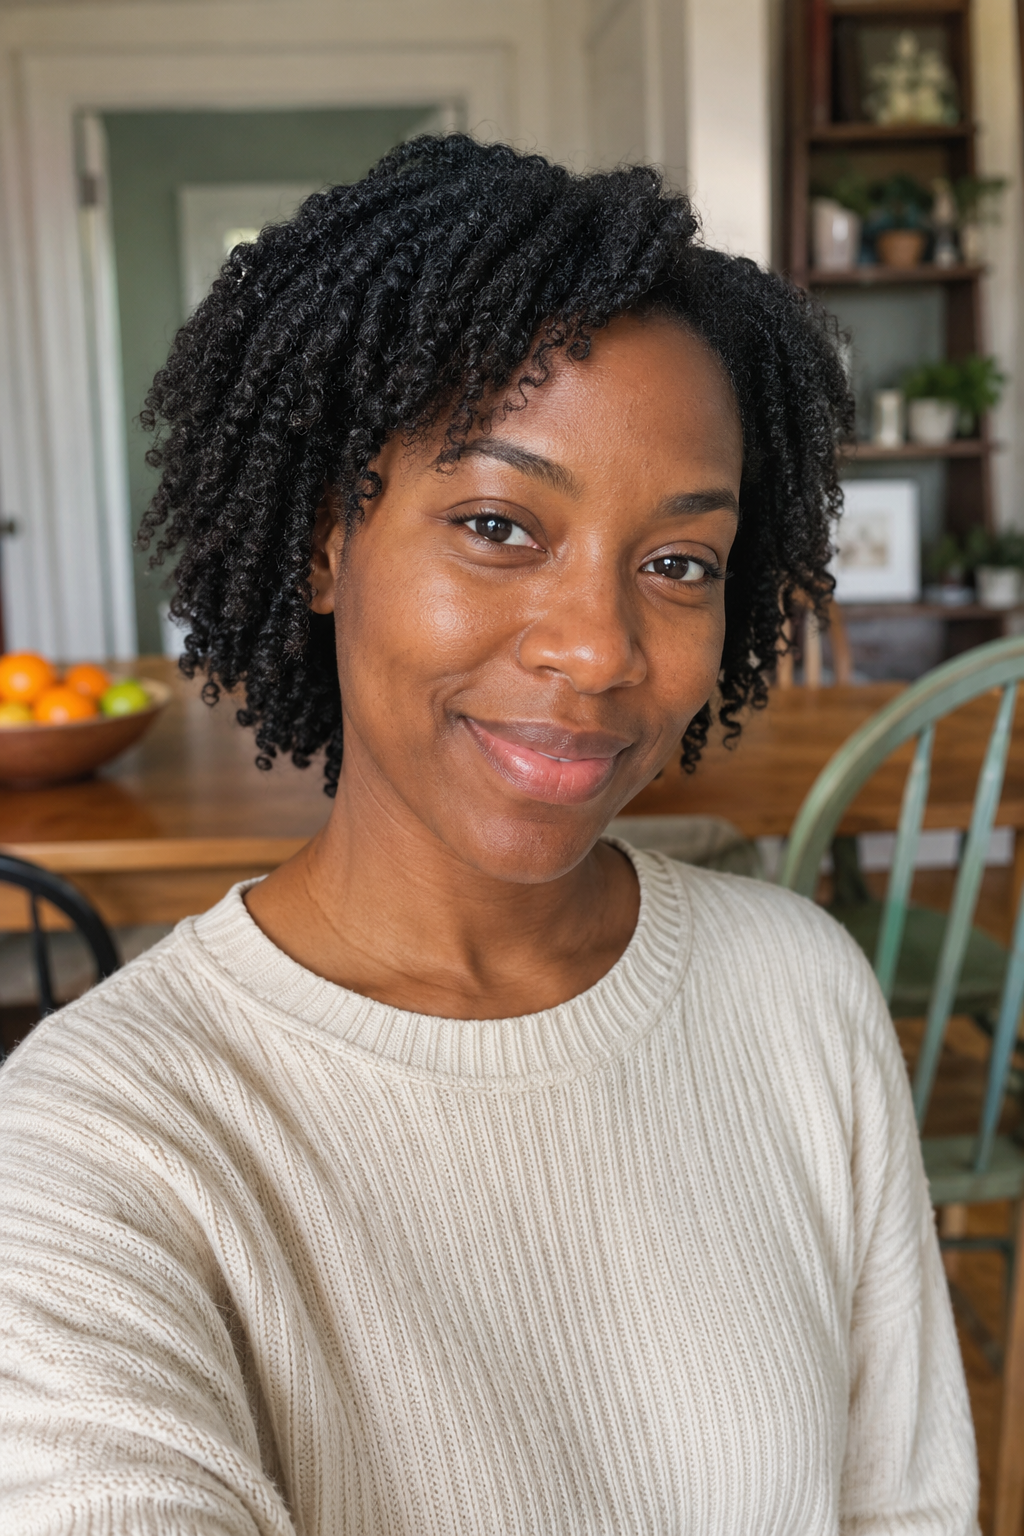
The go-to for a reason. Two-strand twists set on damp hair and unraveled give you soft, stretched definition that reads far longer than your shrunken length.
At awkward length the twists need to be small, or the ends fall loose and undefined.
Twist on damp hair with a cream and a little gel, sleep in a satin bonnet, then unravel with oiled fingers and fluff the roots gently. If your density is fine and it goes spiky, focus on volume at the roots rather than fighting for perfect definition.
Twist-Out With Side Cornrows
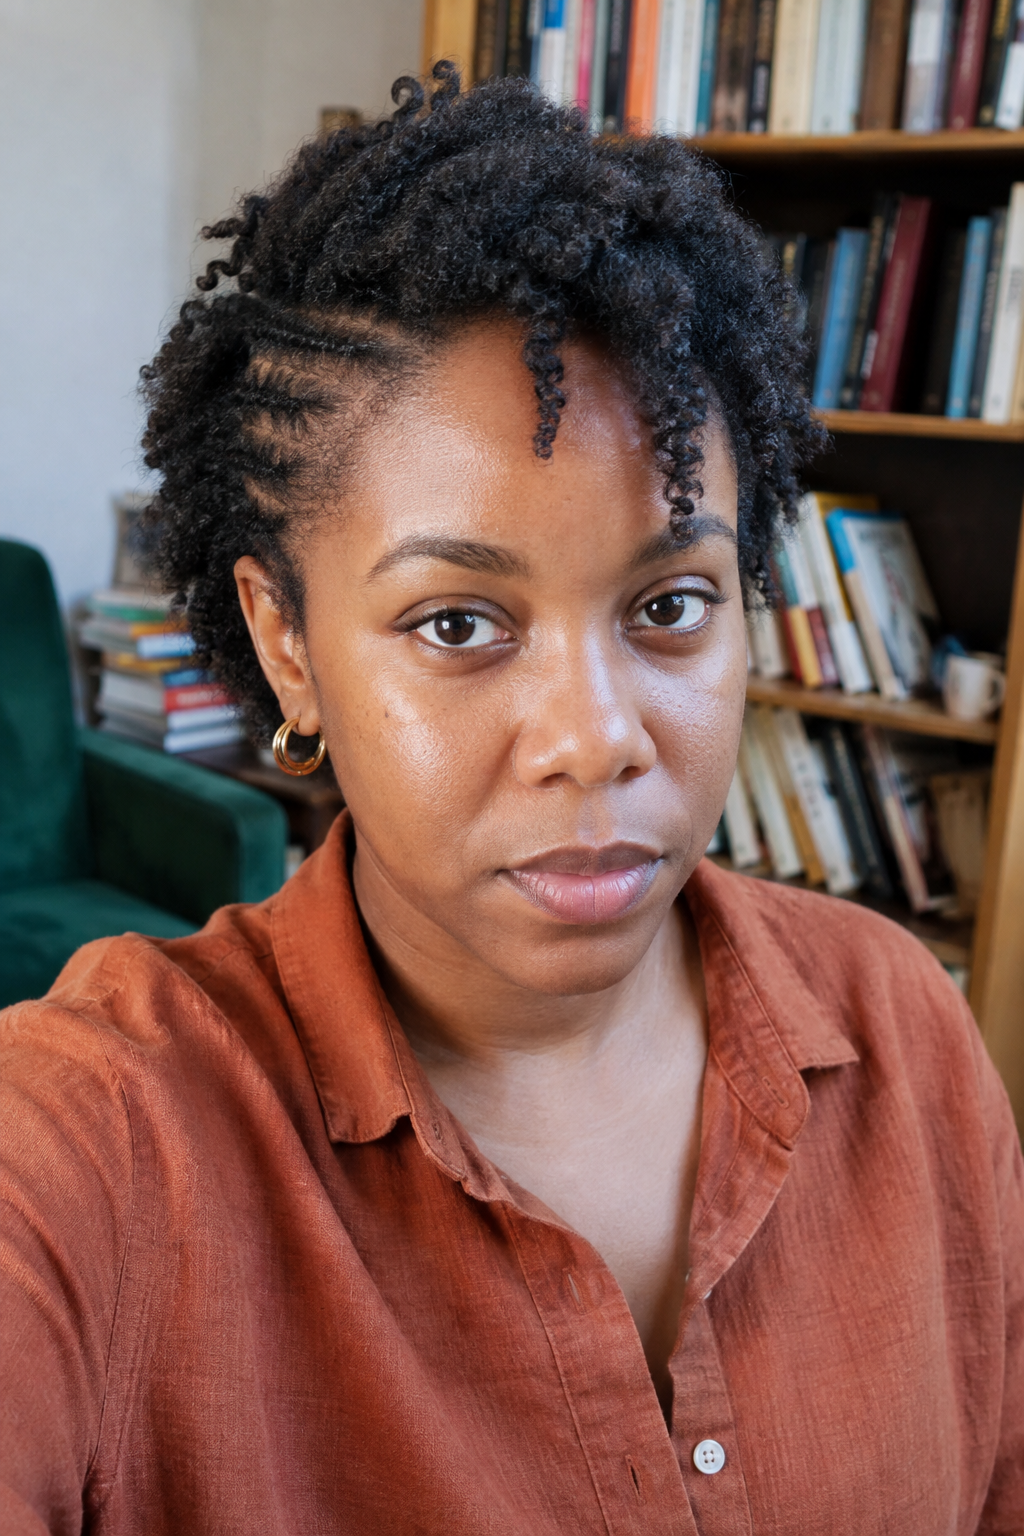
Take a standard twist-out and add a couple of cornrows on one side for visual interest, a combination sources point to specifically for this length.
The cornrows control one section while the twist-out gives you texture through the rest, so the style reads styled rather than grown-out.
Braid the two cornrows before you set the twists, or add them after taking the twist-out down. It is an easy way to make a familiar style feel deliberate.
Braid-Out
A braid-out gives a crimped, zigzag stretch instead of the round curls of a twist-out, and some 4C naturals find it holds better.
The braid pattern stretches the hair more than twists do, which helps at a length where every extra inch of stretch counts.
Braid on damp, not soaking, hair and let it dry completely before taking it down, or it puffs straight back up. The stretched result buys you a few more days of a longer-looking style.
Flat Twists
Flat twisting lies against the scalp like cornrows but uses two strands, and it holds on hair too short to braid comfortably.
Because everything is secured down, this is a genuinely low-manipulation style that protects the hair while it grows.
Wear them straight back or in a pattern for a few days, then unravel for a wave that carries you into the next look. Oil your scalp along the parts to keep it comfortable.
Flat Twist Crown
Flat twist a crown around the head on stretched hair for an elegant style that works even at this shorter length.
Because the twists sit flat and circle the head, the style needs far less length than a bun or a hanging updo would.
It suits occasions, pairing well with a nice outfit for a full queen effect. Set it on stretched hair for the cleanest lines and pin any loose ends under.
Frohawk
A blend of the afro and the mohawk, the frohawk sweeps and pins both sides flat while the center stands tall with full coil volume, no shaving required.
Sources name this one directly as a great awkward-length style, because shrinkage builds height in the center rather than length, which is exactly what a frohawk wants.
Pin or flat-twist the sides flat, then pick out the center for maximum volume. Add tribal cornrows on the sides for extra interest, and edge control keeps the pinned sections sleek.
Flat Twist Frohawk
A structured version where you flat twist the sides toward the center and leave the middle section free and fluffed forward.
The twisted sides create the mohawk shape while the free center gives height, turning an awkward length into a real statement.
Create four or five flat twists on each side twisting inward, then fluff the middle up and forward. It reads edgy and intentional and keeps the hair off your neck.
Bantu Knots
Small coiled knots across the head are a super cute, super easy way to switch up an awkward length, and they need very little length to form.
The knots are a finished style in their own right, sharp and deliberate rather than a grow-out.
Section carefully with a rat-tail comb, since uneven parts show immediately on short hair. The lighter weight at this length also means less pull on your edges than longer Bantu knots cause.
Bantu Knot-Out
Take the knots down once dry and you get spiral curls with real bounce, a pattern nothing else quite reproduces.
Bigger knots give looser curls, smaller knots give tight spirals, so you control the outcome by how you section.
This works especially well on dense 4C that resists holding a twist-out. Separate each unraveled knot into two or three pieces with oiled fingers and leave the roots alone until the end.
Bantu Knot Half-Up
Do Bantu knots across the top and crown only, leaving the back loose, for a half-up version that suits this in-between length.
Knotting just the top handles the shorter, harder-to-manage crown pieces while the back stays free and full.
It gives you the sculptural knot pattern without committing the whole head. Take the top knots down later for a half twist-out effect if you like.
Deep Side Part Fro
Sometimes the simplest move wins. One sharp side part and the rest picked out full turns an awkward length into a deliberate afro.
Shrinkage is doing you a favor here, giving you a rounded fro shape that a stretched style could not.
Use the tail of a comb and a little edge control for a crisp part, then pick the crown out for height. It is the fastest style on this list and the one to reach for when nothing else cooperated.
Accessorized Fro
The afro does not have to be plain. Spice up your awkward-length fro with a headband, cuffs, pins, or a scarf woven through.
Playing with accessories and different parts is what keeps the fro from feeling boring while you wait out the length.
Push a wide fabric headband back for instant polish, or clip small gold cuffs onto a few front coils. It takes two minutes and reads intentional.
Wash-and-Go
Leave-in and gel smoothed over soaking-wet hair define each coil, giving a full, shrunken shape that suits this length perfectly.
Shrinkage means a wash-and-go sits as a compact, rounded style rather than hanging, which is exactly right for the in-between stage.
Apply to soaking-wet hair in sections for the best definition, then let it dry fully before touching it. Add a couple of side cornrows if you want more shape.
Stretched Banding
Band the hair in sections with a series of elastics from root to tip to stretch out the coils without heat, revealing length.
Banding is one of the main heatless ways to show your true length at this stage, fighting the shrinkage when you want to.
Wrap small elastics down each section of damp hair and let it dry fully, then remove them. You are left with stretched, elongated coils you can wear out or style further.
Twist and Curl
Set two-strand twists on perm rods or flexi rods at the ends for a twist-out with defined, curled tips.
The rods stretch and curl the ends, so the finished style hangs and springs longer than your shrunken length.
Twist the hair, roll the ends onto rods, and dry fully before unraveling. It is a special-occasion-worthy result from a simple overnight set.
Half Twist-Out, Half Rod Set
A combination where you take the twists down as a twist-out on top and set the ends on perm rods for defined curls below.
The mix gives you volume up top and definition at the ends, a two-texture look that flatters the awkward length.
Twist the whole head, then wrap just the ends of each twist onto rods before drying. Take it all down together for the blended effect.
Flexi Rod Set
Setting awkward-length 4C on flexi rods gives defined, springy curls with bounce and stretch.
The rods stretch the hair as they set, so the finished curls hang longer than your shrunken length, which is exactly what you want here.
Set on damp hair, sit under a dryer or air dry fully, then unravel gently. It is a special-occasion result from a simple overnight set.
Puff With a Bang
Pulling most of the hair back into a puff while leaving a section out front for a bang gives an effortless, sophisticated shape.
The bang softens the face and uses the front length that is often too short to gather anyway.
It works well for professional settings and takes only a few minutes. Define the bang with a little cream and smooth the puff back with a soft band.
Roll, Tuck and Pin Updo
Skip the set entirely and create an updo by rolling sections under, tucking the ends, and pinning them in place.
The pins do the work the length cannot, tucking the ends up and creating a neat shape on hair too short to bun.
Work in sections, rolling each up toward the scalp and securing with bobby pins. It is dressier than it sounds and protects your ends by tucking them away.
Twisted Updo
Two or three flat twists gathered and pinned up create a genuine updo without needing bun length.
Each twist only has to reach the nearest pin, which is what makes an updo possible at this stage.
It suits weddings and events, elegant and protective at once. Set it on stretched hair for the cleanest result and pin generously since short hair needs more anchoring.
Pin-Up Roll With a Puff
Brush and secure the hair into a puff, then roll some of the strands from tips to roots and pin them down for a soft, structured finish.
Rolling the loose strands under gives the puff a polished, tucked shape rather than leaving the ends exposed.
It is a for-all-occasions take on the basic puff. Roll each section from the ends up toward the base and pin flat against the puff.
Asymmetrical Pinned Fro
Stretch the hair with a low-heat blowout, create a dramatic side part, sweep most of it to one side, and pin the fuller side in place.
Sweeping everything to one side creates the illusion of more length while showing off your texture, ideal for the in-between stage.
Blow out on low heat with a heat protectant first, then pin the sparser side with decorative pins. A satin scarf at night keeps it in place.
Comments
No Comments